Enrich Your Pages With a Stamp-Punch | Kamei Super Punch Review
Disclosure: This post contains Amazon affiliate links. If you click and make a purchase, I may earn a small commission.
I’m sure I’m not the only one, but I’ve been seeing a lot of reels lately featuring neat stamp punches that can stampify anything you can put your artistic mind to. But here’s the thing: they rarely tell you anything about them! So naturally, I bought one.
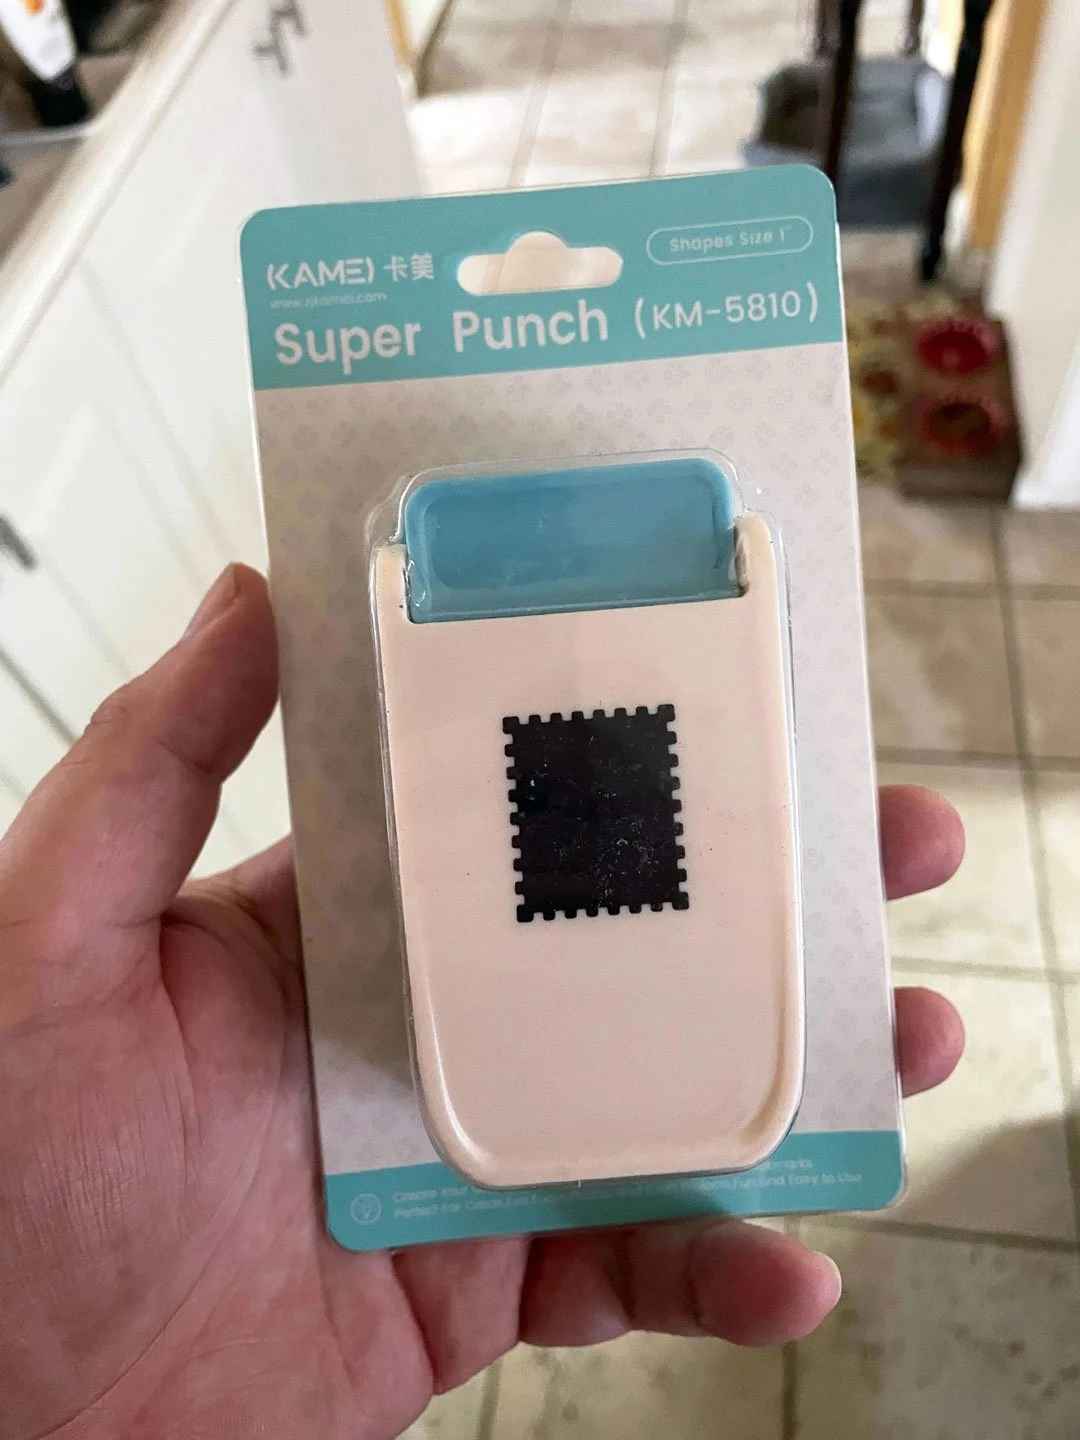
I completely forgot to take a better photo of the package before tearing it open, but hey, at least I have this phone photo.
I’ve seen a few different variations and models of stamp punches out there, but the one I see the most often (and had me the most interested) is this one: the Kamei Super Punch. There’s a mark on the packaging that says KM-5810, but that doesn’t seem to have anything to do with the shape of the punch itself. The one I ordered will make a 1"x0.8” stamp, but I’ve seen them come in different sizes, and even multi-packs, so make sure you’re getting the size you want if you plan on ordering one for yourself.
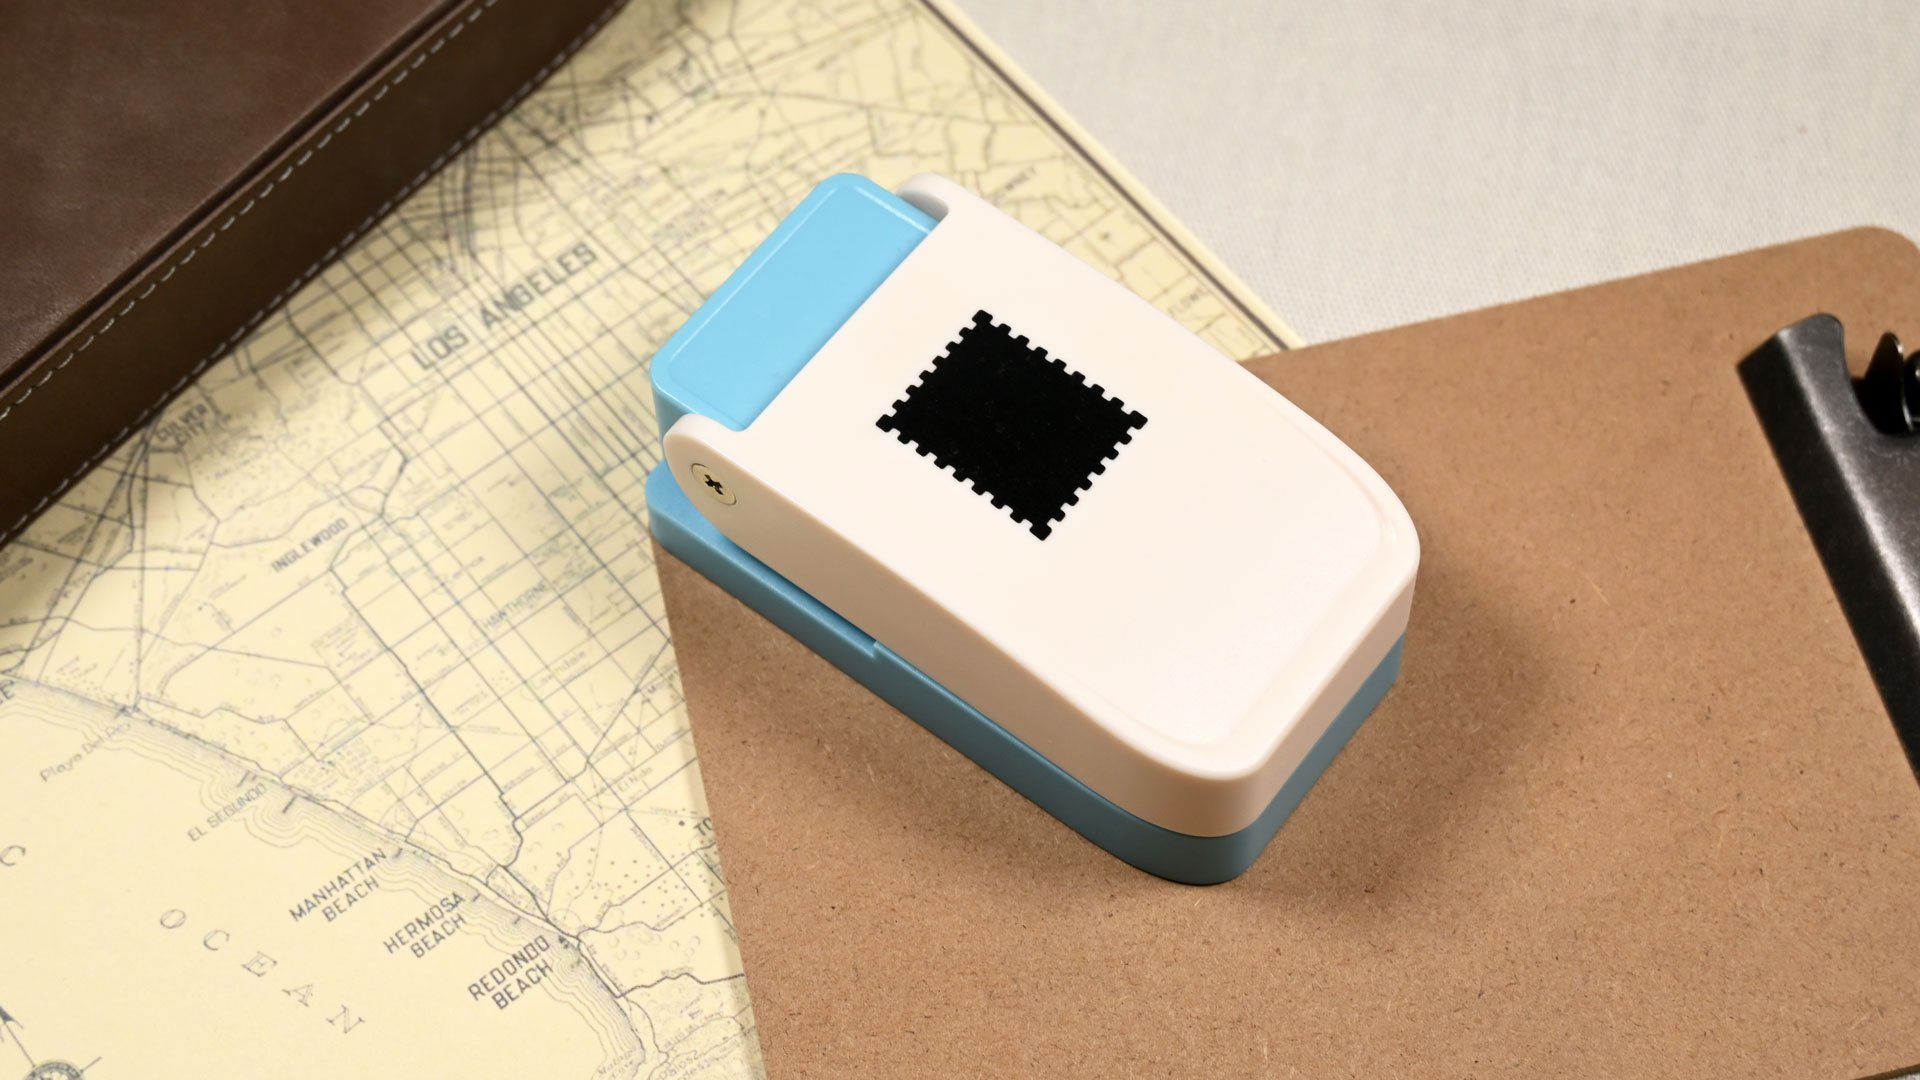
Right out of the packaging, I was surprised to see how sturdy it felt. I’m not sure why, but I expected it to feel cheap and flimsy, but it’s not — in fact, it feels a lot like my Sunstar corner cutter, and I’ve cut thousands of corners with that. I’m happy with the build quality, and I have no doubt it’ll hold up to plenty of use.
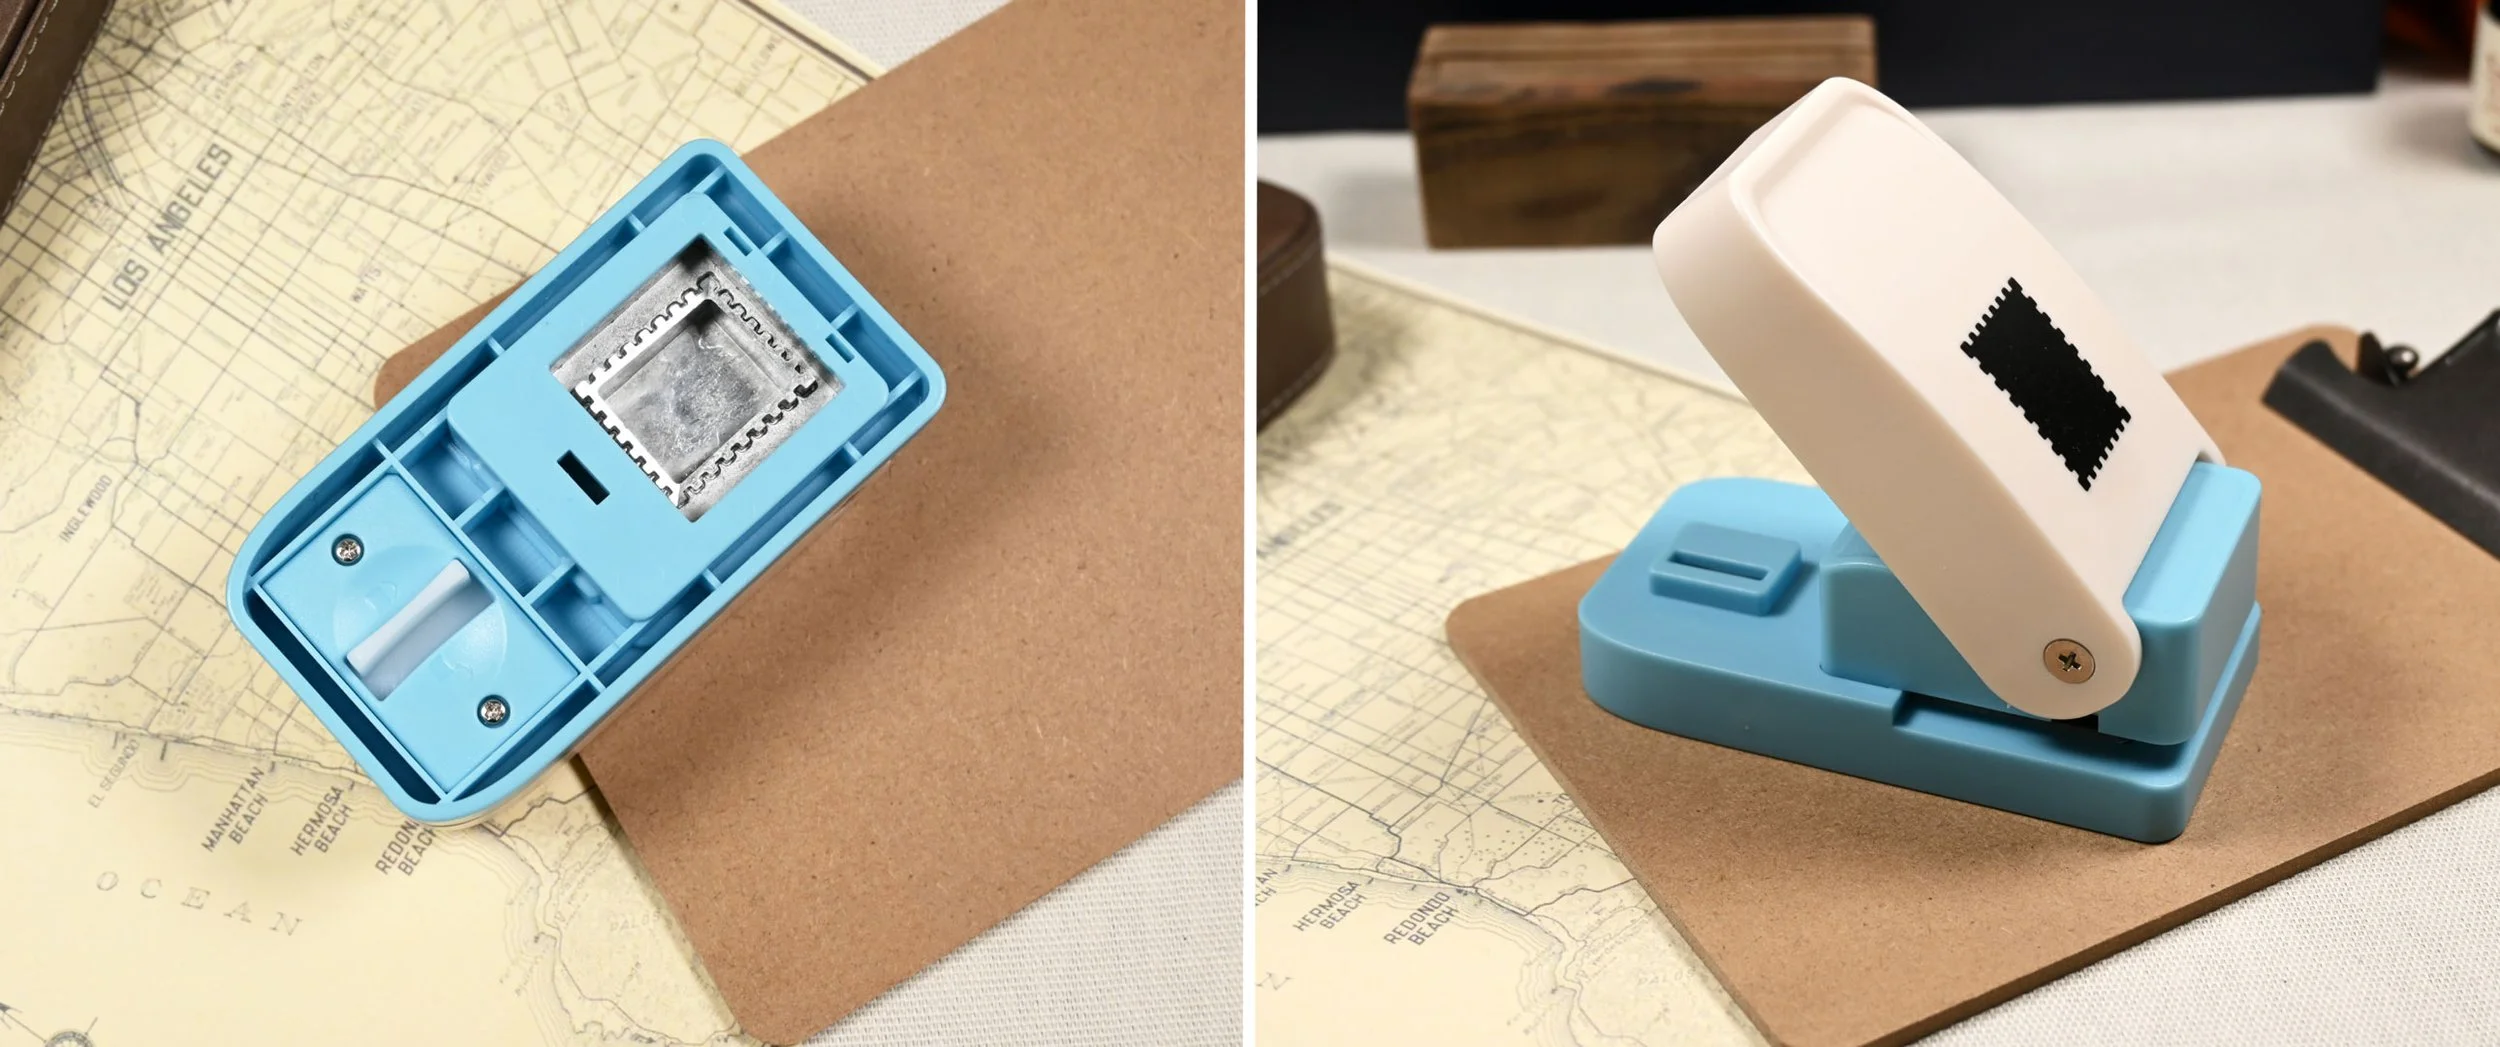
Looking at the underside, you’ll find the mechanism that punches out the shape, but also a lock to keep the lever closed when the punch isn’t in use. The lower profile when locked makes the Super Punch much easier to store in a box or a drawer. Maybe they could have designed the top in a way that allowed the Super Punch to be stackable if you happen to have more than one, but the overall design is nice, functional, and aesthetically pleasing.
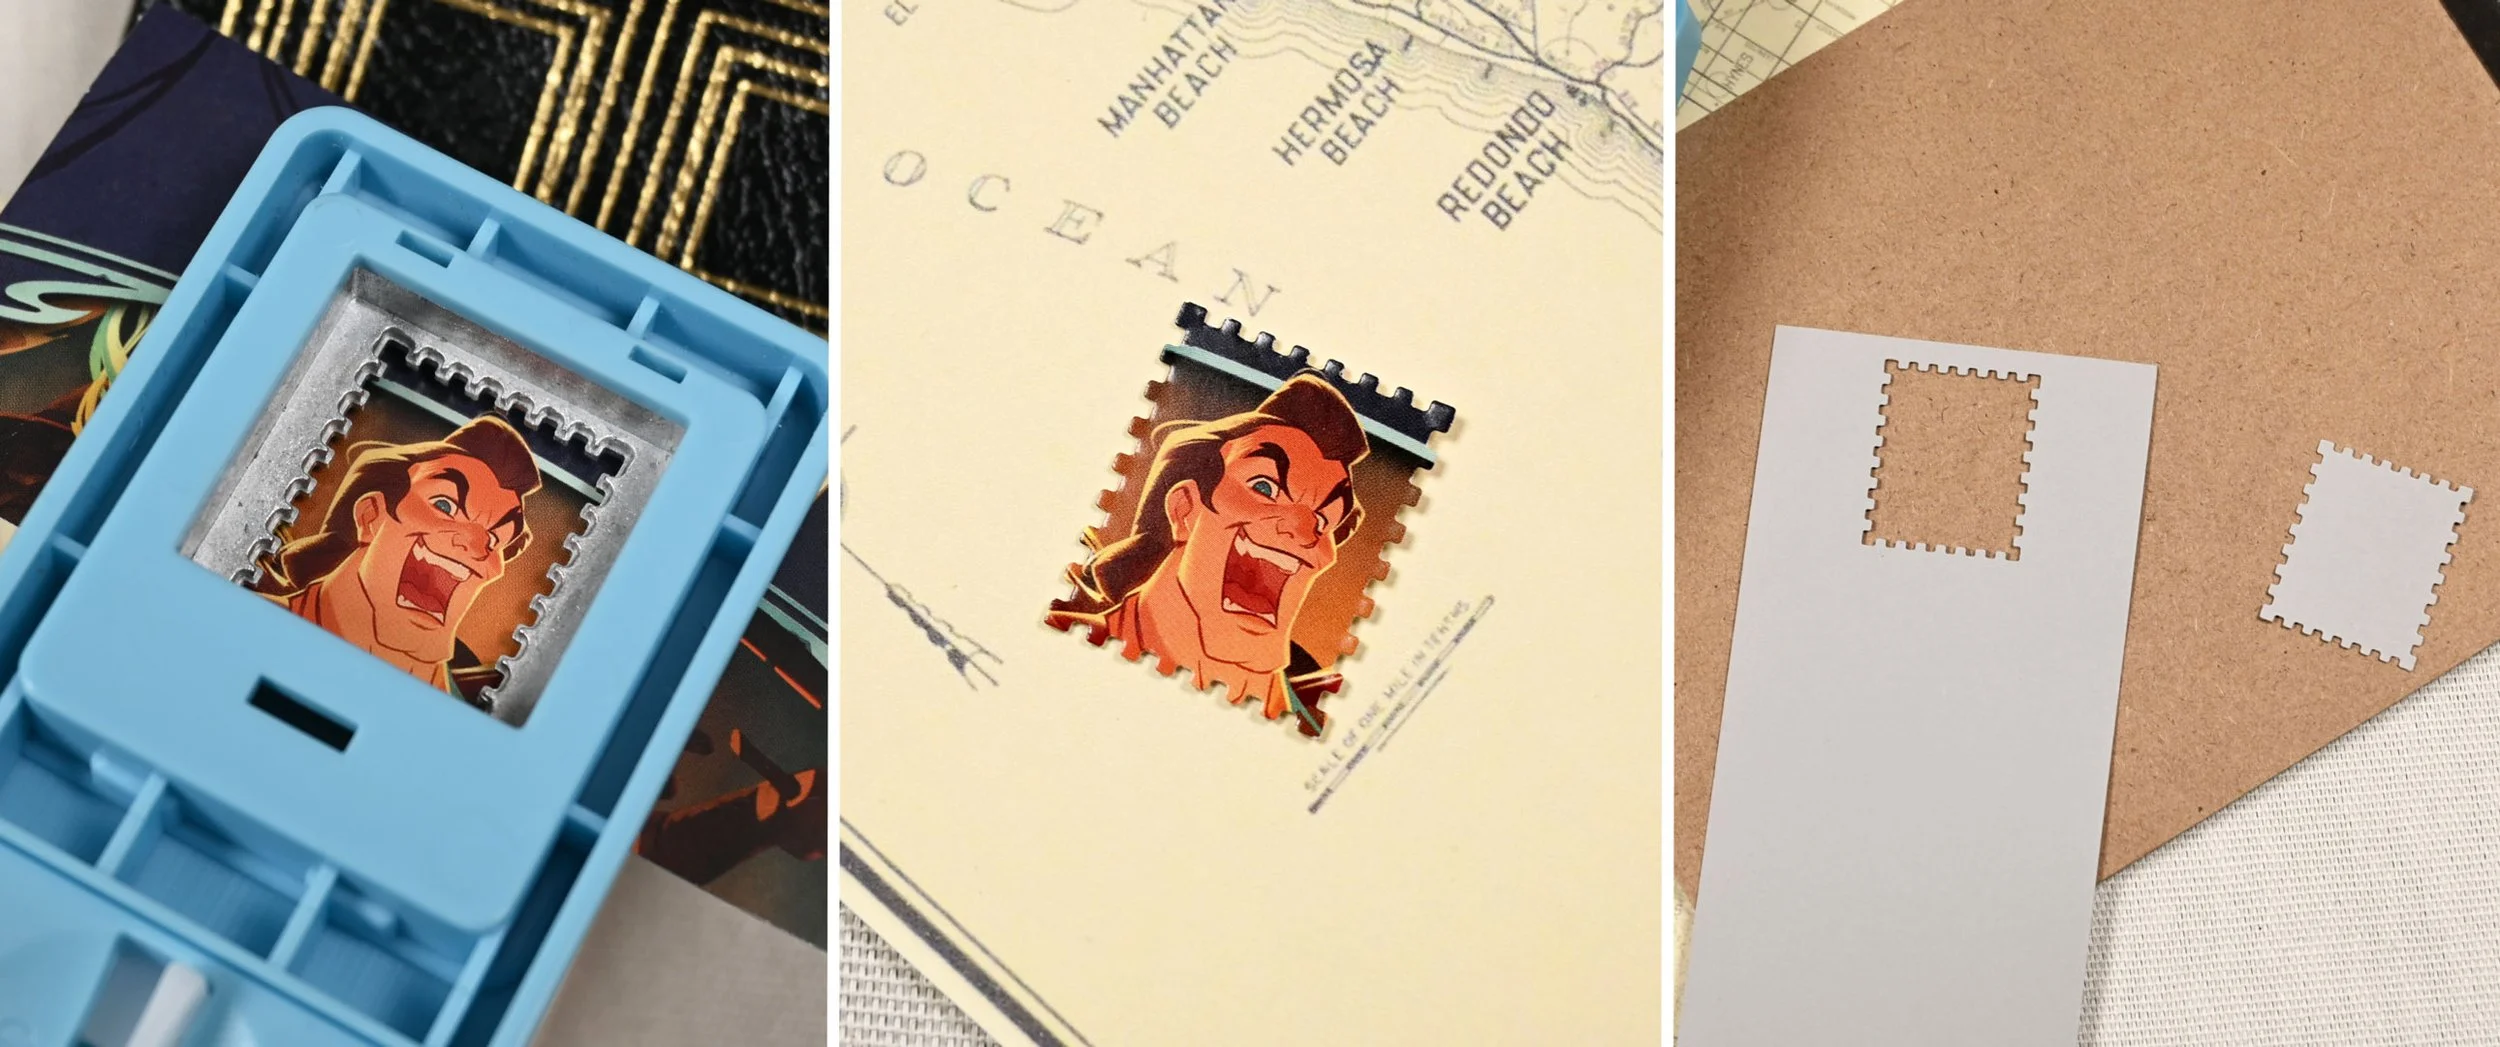
Using the punch is simple: find the thing you want to punch out, slide it into the groove on the front of the punch, and squeeze it! It doesn’t take a lot of pressure, and the window on the bottom of the punch allows you to see and align your material before you punch it out. Top tip: you can use the punch to make a little card with the shape punched out to help you search for things you might like to punch. I highly recommend this method. In my experience, it makes a massive difference in how many things you’ll find for stamping,
It wasn’t long before I had all sorts of fun ideas to use this with:
Mail Decorating
Memory Keeping
Creative Journaling/Scrapbooking
Mixed Media Art
Themed Collections (Swatches, Leaves, Patterns)
And finding material to punch out couldn’t be easier:
Old Photos/Postcards
Maps, Book Pages, Music Sheets
Food Boxes, Shopping Bags, Misc. Packaging With Fun Decorations or Patterns
Tea/Coffee Packaging
Washi/Stacked Washi
Pressed Flowers/Leaves
Fabric
Old Magazines
Stamp time!
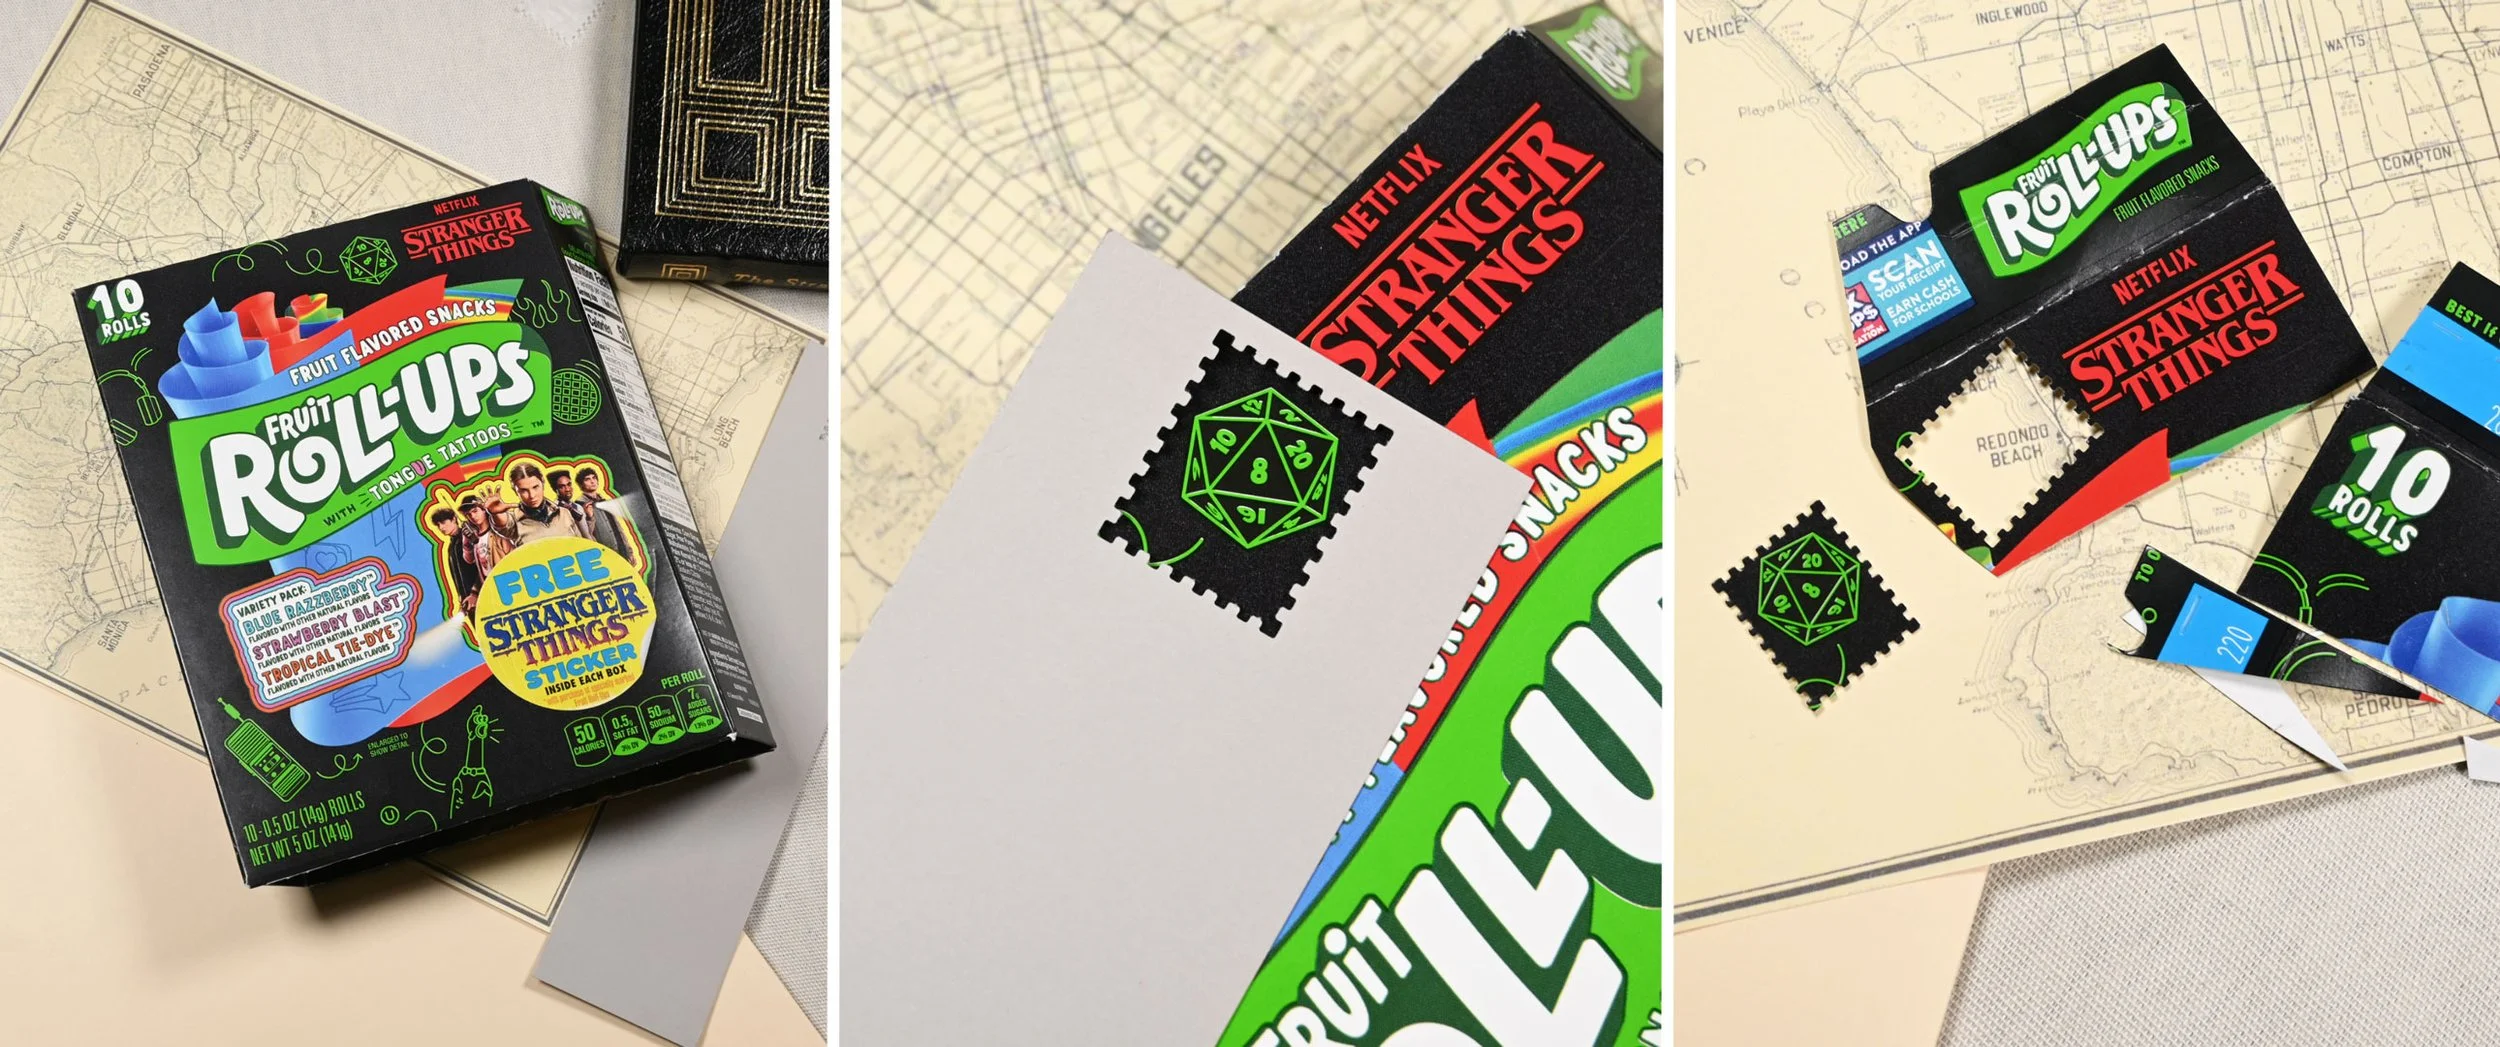
As an example, here’s a Stranger Things promotional Fruit Roll-Ups box. There are a lot of things on this box that we can work with, but I’ll start with this D20 die that caught my eye. Using the guide I made to make sure everything would fit before getting started, I got to cutting up the box until I was close enough to get to my subject. I recommend cutting in small increments so you don’t ruin your project by accident. Once I was happy with the framing, the Super Punch was able to get through the box with ease, and my stamp was free! Easy!
Themed Collections
Wearingeul Dracula | Wearingeul The Secret Garden | Wearingeul The Picture of Dorian Gray | Edelstein Smokey Quartz
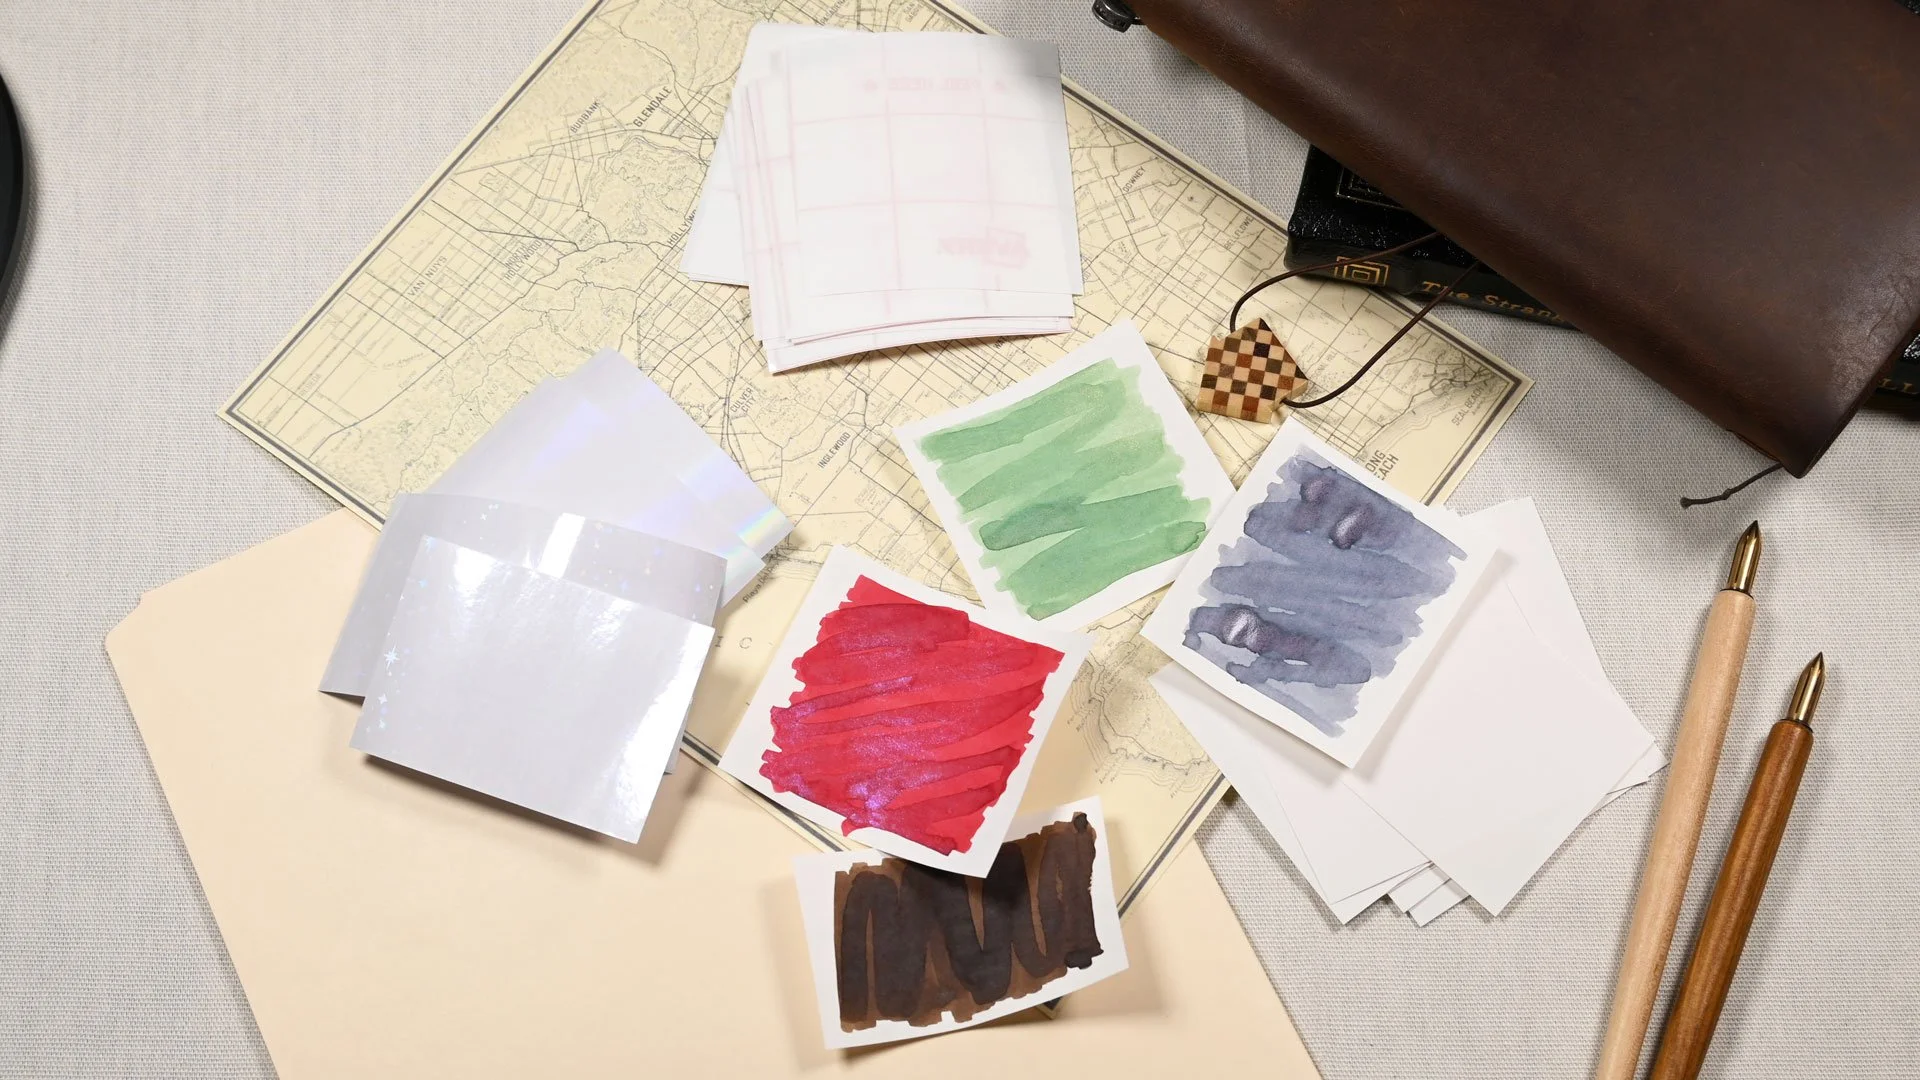
For themed collections, I had an idea using swatches! It’s a bit of an offshoot of an idea I had when making some buttons for my review of Diamine’s Platinum Jubilee ink. The cutting die used to make buttons is similar in concept to a punch like this one, and I think stamps will be just as cool! These swatches are done on squares I cut from loose-leaf Iroful paper. It’s perfect because it makes beautiful swatches while still being incredibly thin.
The major challenge was to find a method for making the stamps without them smudging over time. I tried several coatings and sprays, but most of them were either too fussy or ruined the swatches. I finally settled on some cheap Avery laminating sheets, and while I was at it, I cut up some leftover scrap pieces of holographic sheets from making stickers.
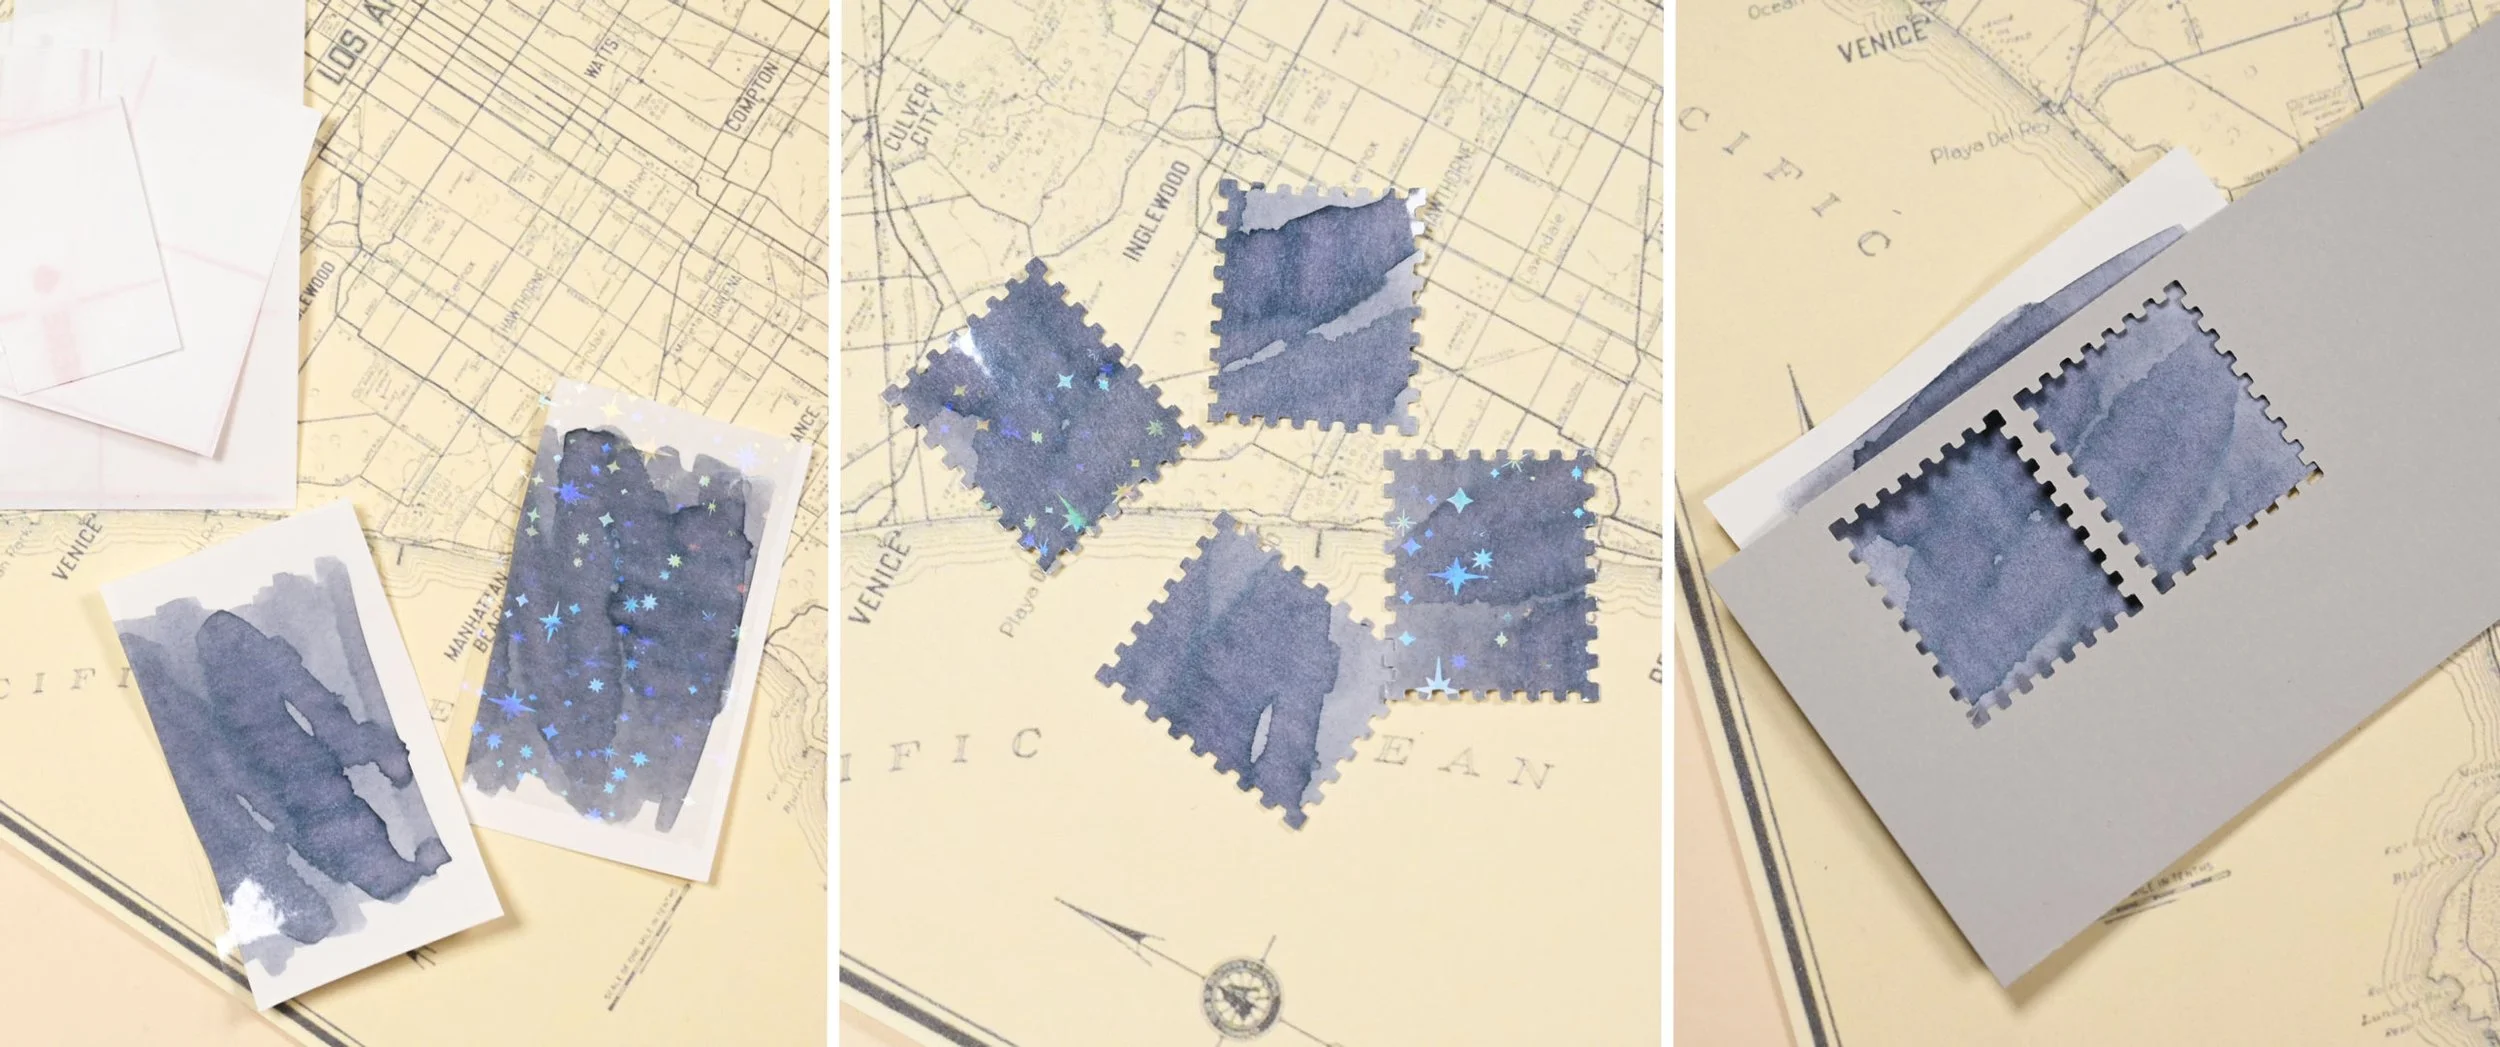
I applied the laminate to two halves of the swatch cards and sent them to the Super Punch! The final product is just what I wanted, and with an unexpected bonus of having a lot more structure than the paper by itself, while remaining thin enough to paste into my notebooks. I also took some time to modify my guide to have two next to each other to make it easier to see if I could get an extra stamp from each swatch card.
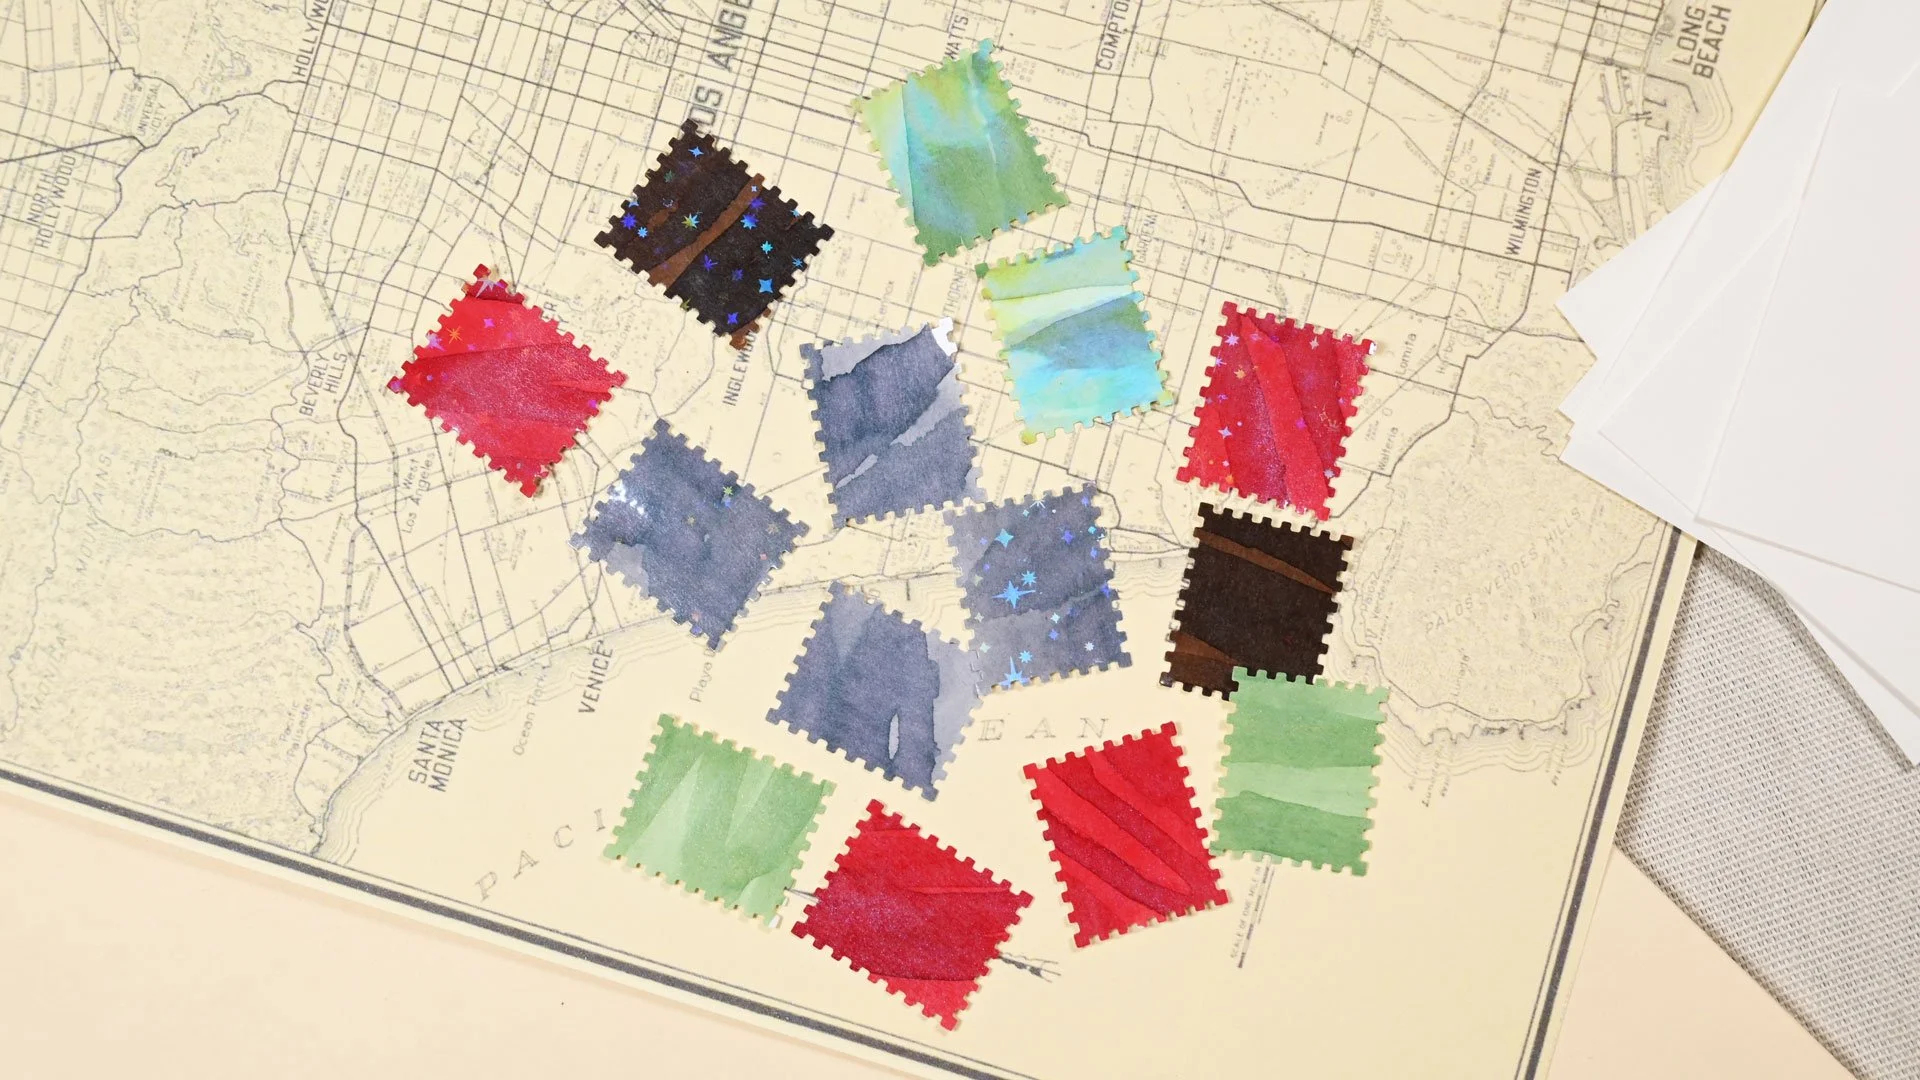
In just under an hour, I had all my prizes ready! Seeing them all together, the swatch stamps came out even better than expected. Especially the ones with the holographic ones! I was expecting them to be a little too much, but they look fantastic!
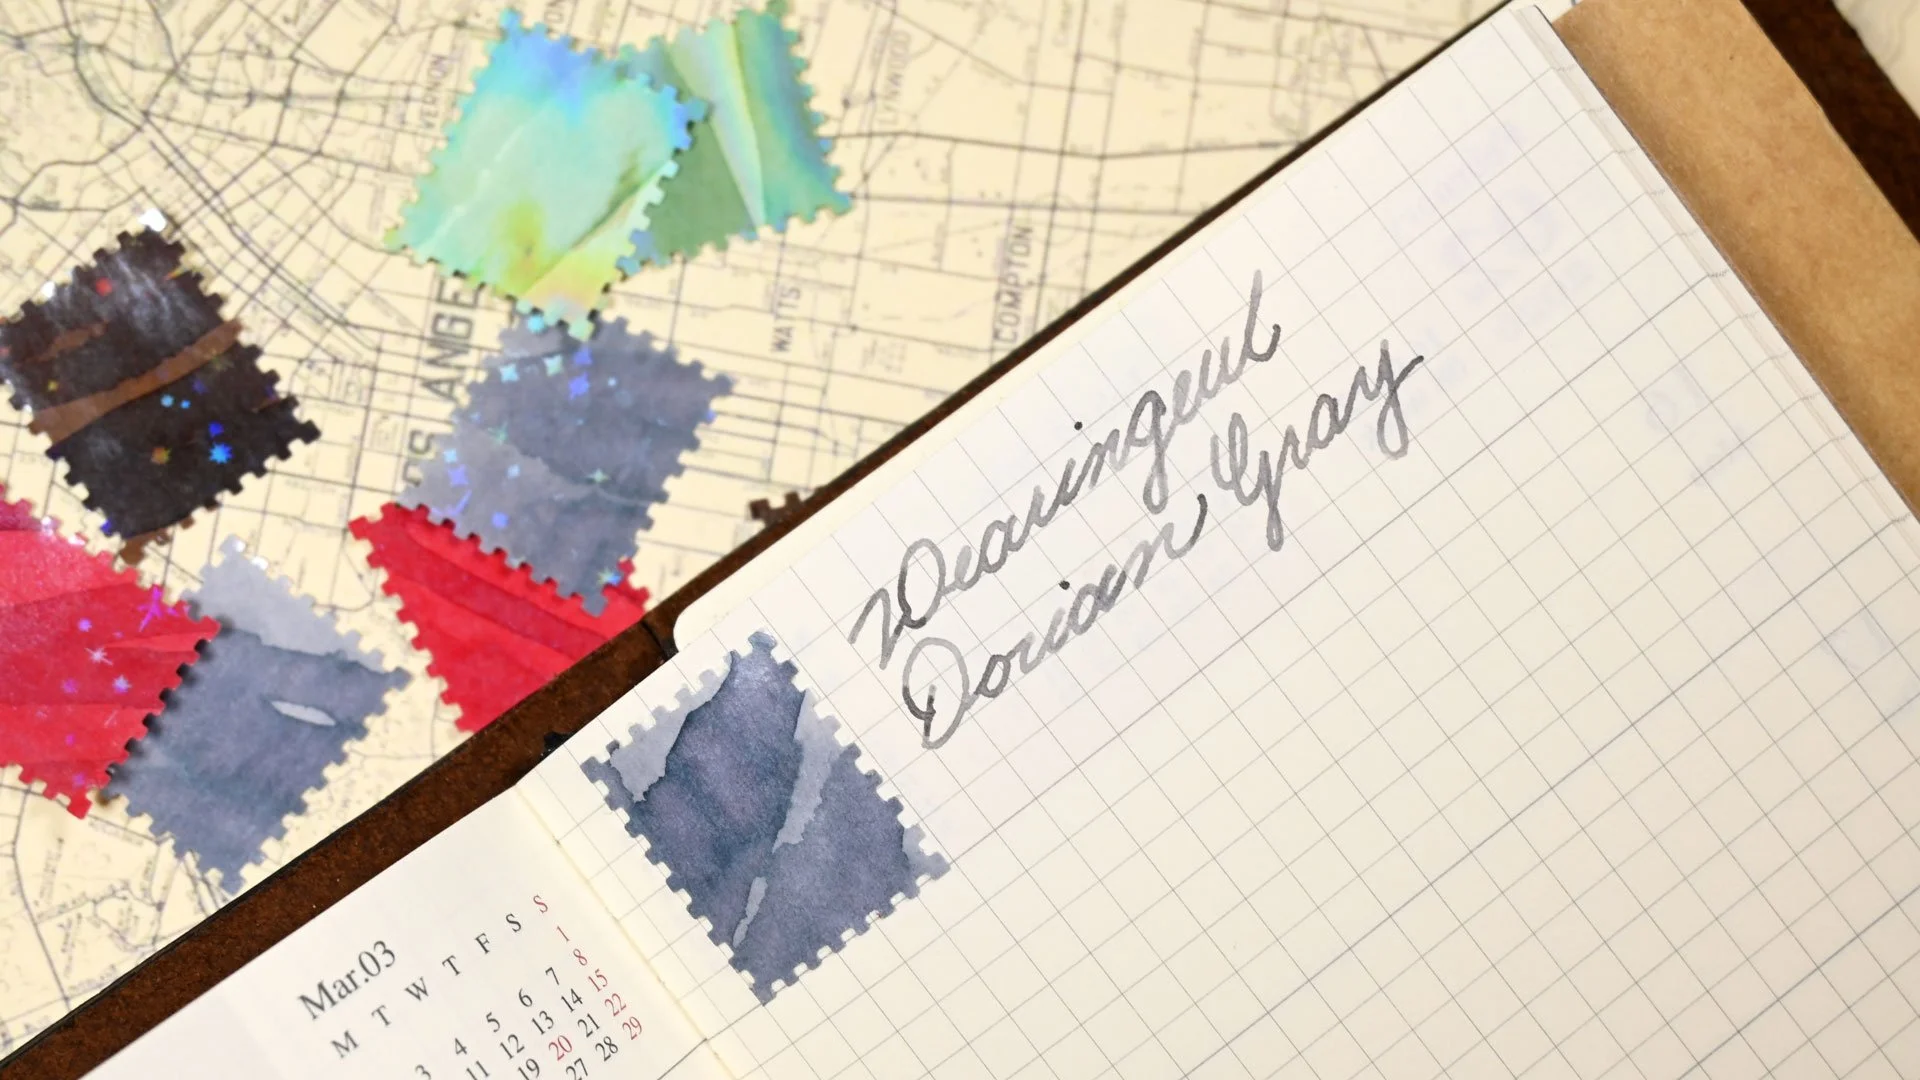
There are all sorts of things you could do with this! Keeping a swatch book, sticking it to your inkwell or bottle for reference, or maybe commemorating a new ink purchase in your notebook. The possibilities are endless, but for me, I knew I wanted it at the top of my planner page because I knew that was the ink I’d be working on for the week. I stuck it to the page using a Kokuyo Dotliner, because it’s the best, and I love it.
Scrapbooking/Adhesive Sheets
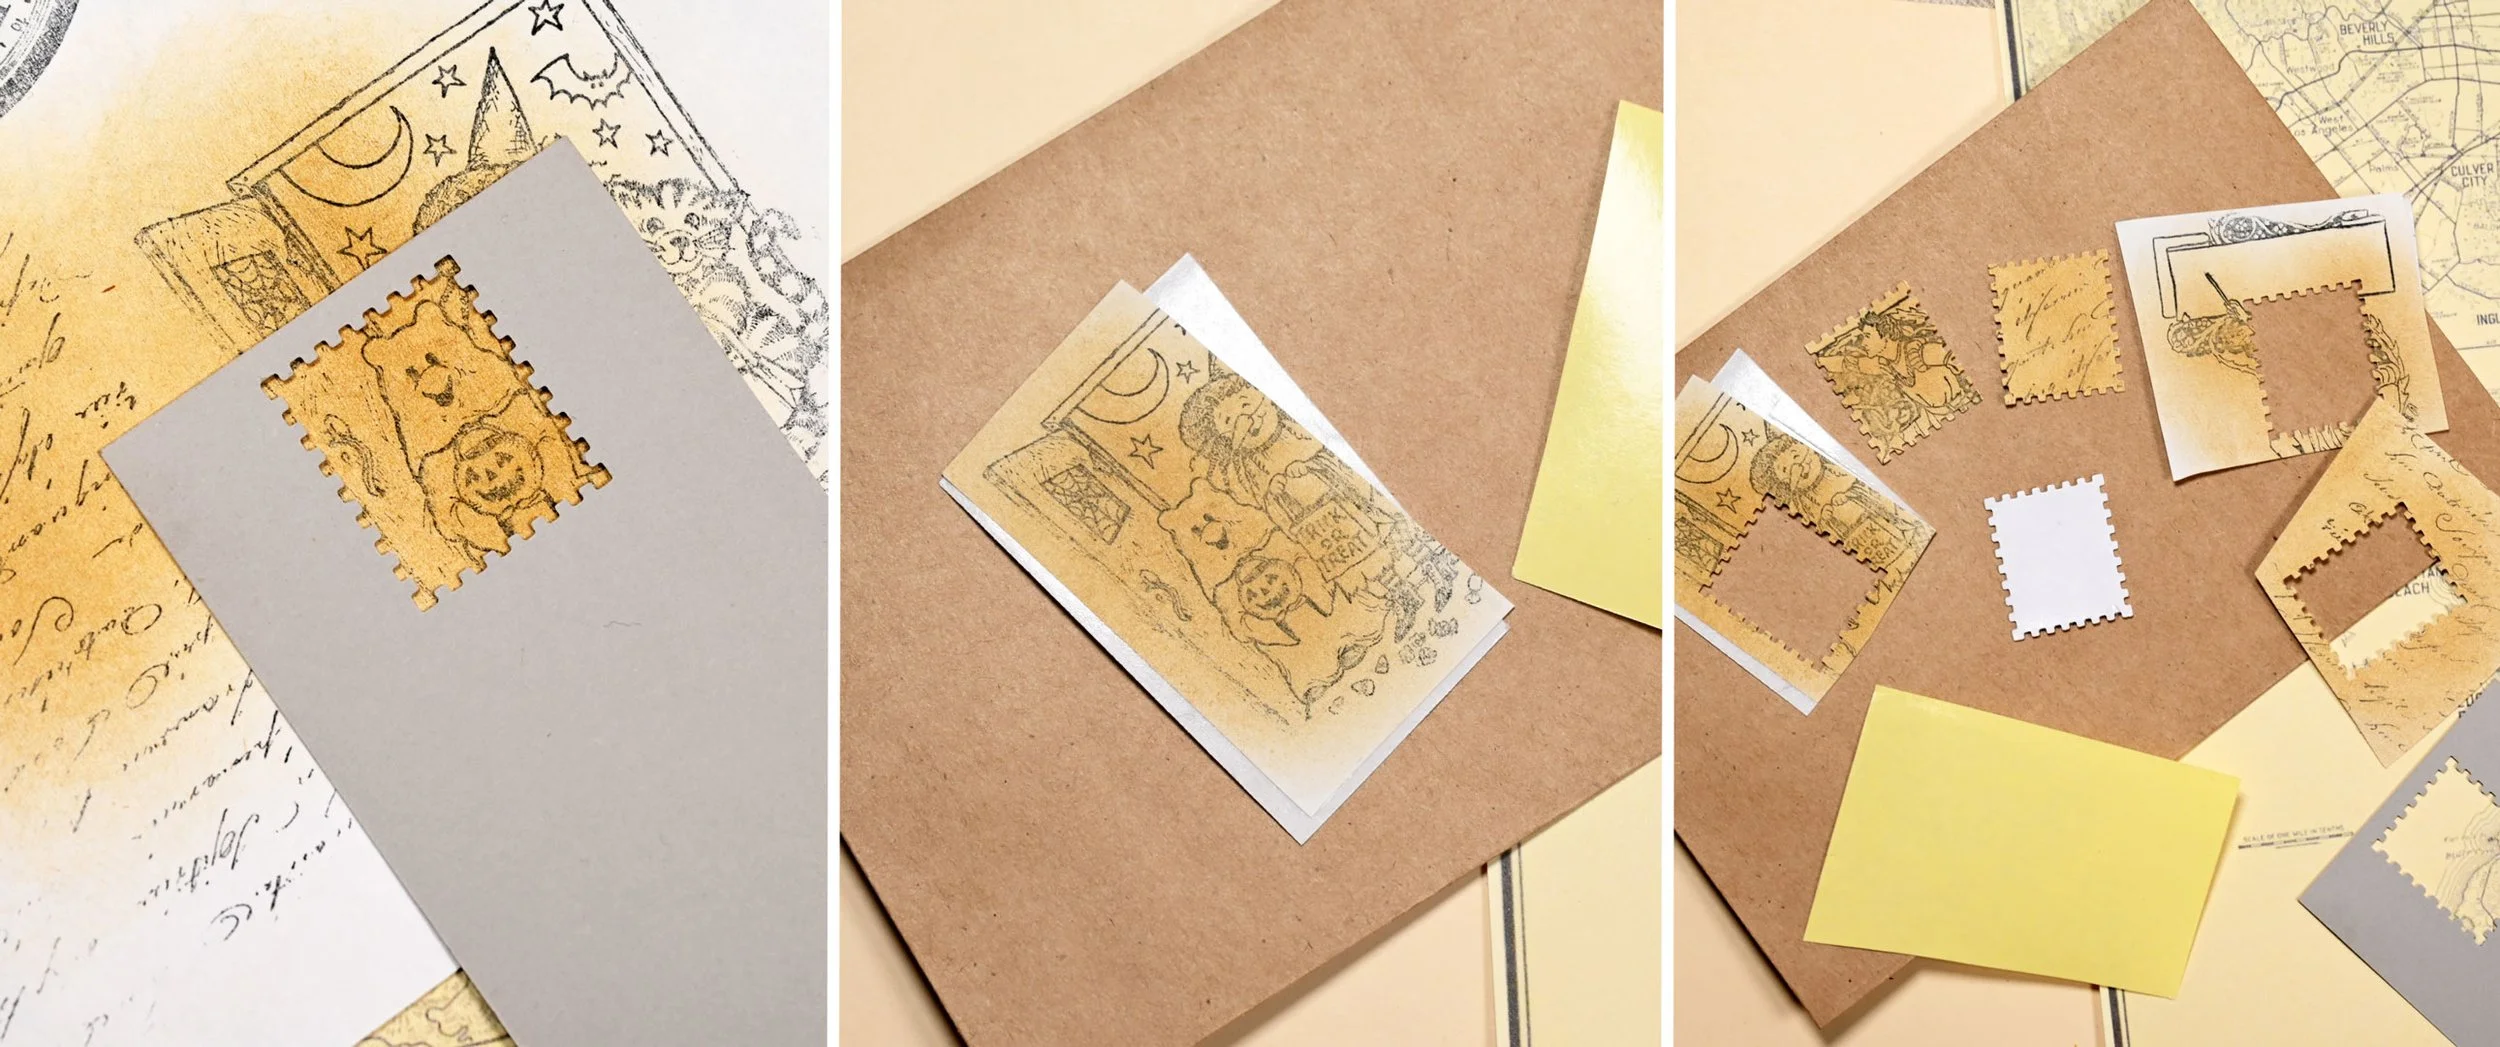
Sometimes what you’re working with might be thin or too fragile (for example, leaves) for the Dotliner, or maybe too thin altogether. In this case, I’ll cut up some double-sided adhesive sheets (I’m using these Birllaid sheets) and stick them to what I want to punch out. This will give your stamp more structure and help your material from breaking during the punch.
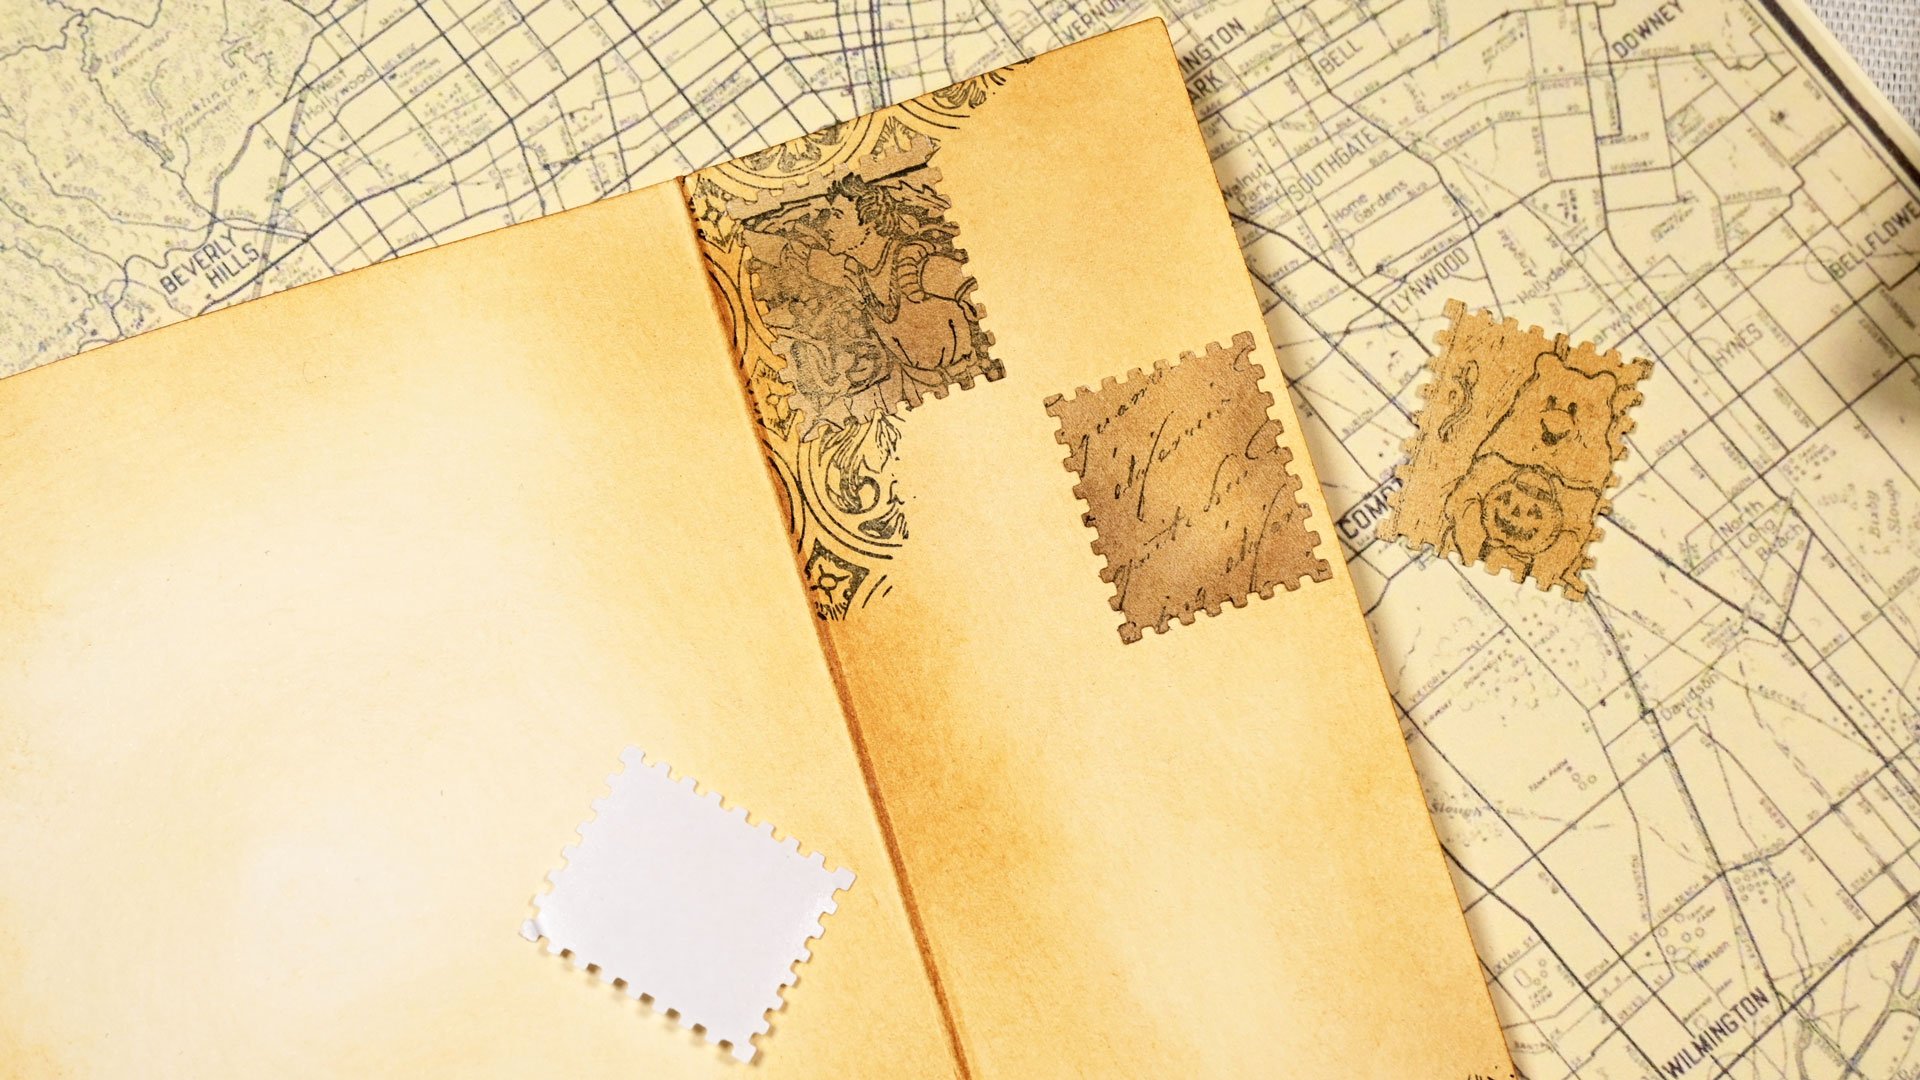
The Trick or Treater stamp will be perfect come Halloween!
Once it’s done, it’s ready to stick to something, or you can save it for later. Be sure to be extra careful peeling off the backing if you are working with a fragile material. These are some simple ink-stamped images on basic printer paper that I colored using Distress Oxide, but the limits are endless — you could even watercolor or ink wash them if your paper can handle it!
Mail Decorating
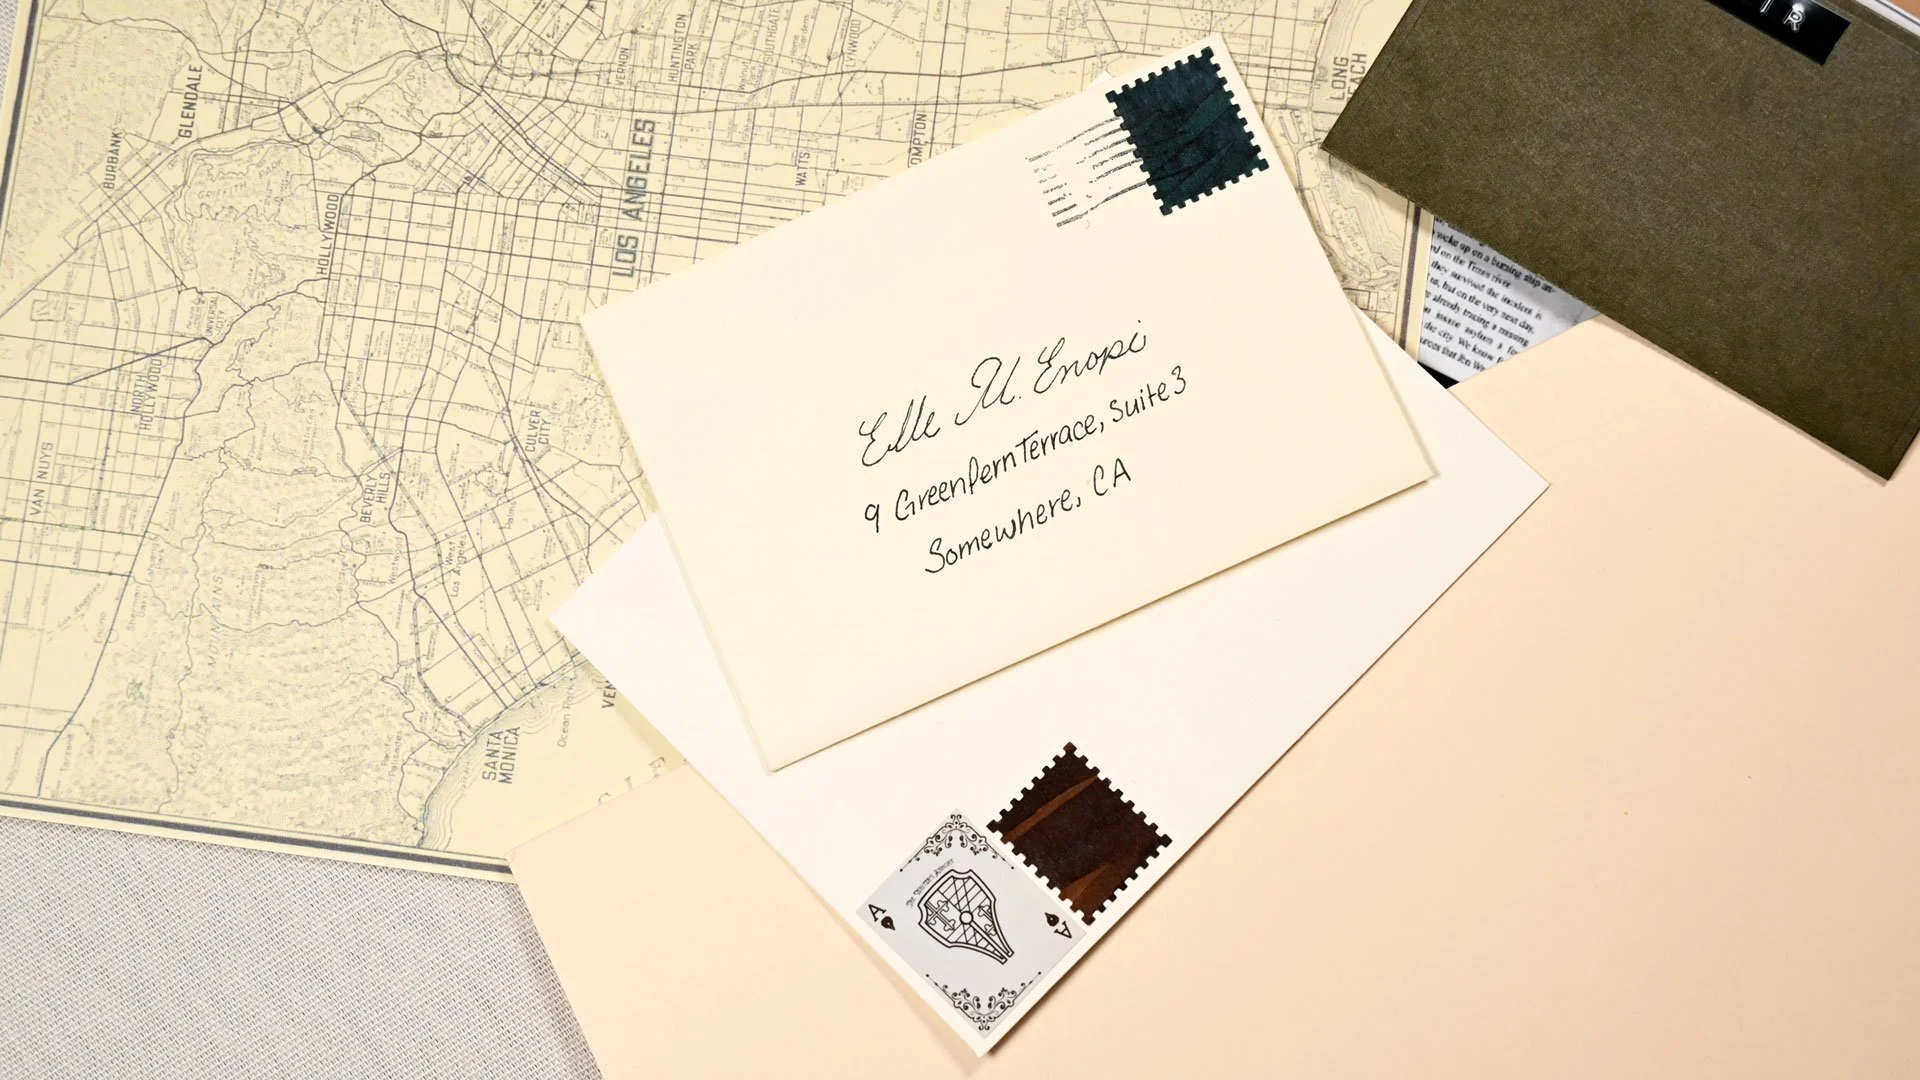
Elle M. Enopi. Private investigator~
This is probably the most obvious option to use a decorative stamp for, but it’s important nonetheless! Even a single decoration can go a long way towards making a letter feel all the more personal and special. I’ve used some of my ink stamps to decorate a few outgoing sticker envelopes, as well as a prop for an upcoming Jade Noir review.
Quick note: If you’re planning on mailing anything with these, make sure the stamp isn’t too thick, and that the adhesive you’re using is strong enough to handle the mail sorting machines. Do some testing and use your best judgment!
My Favorites
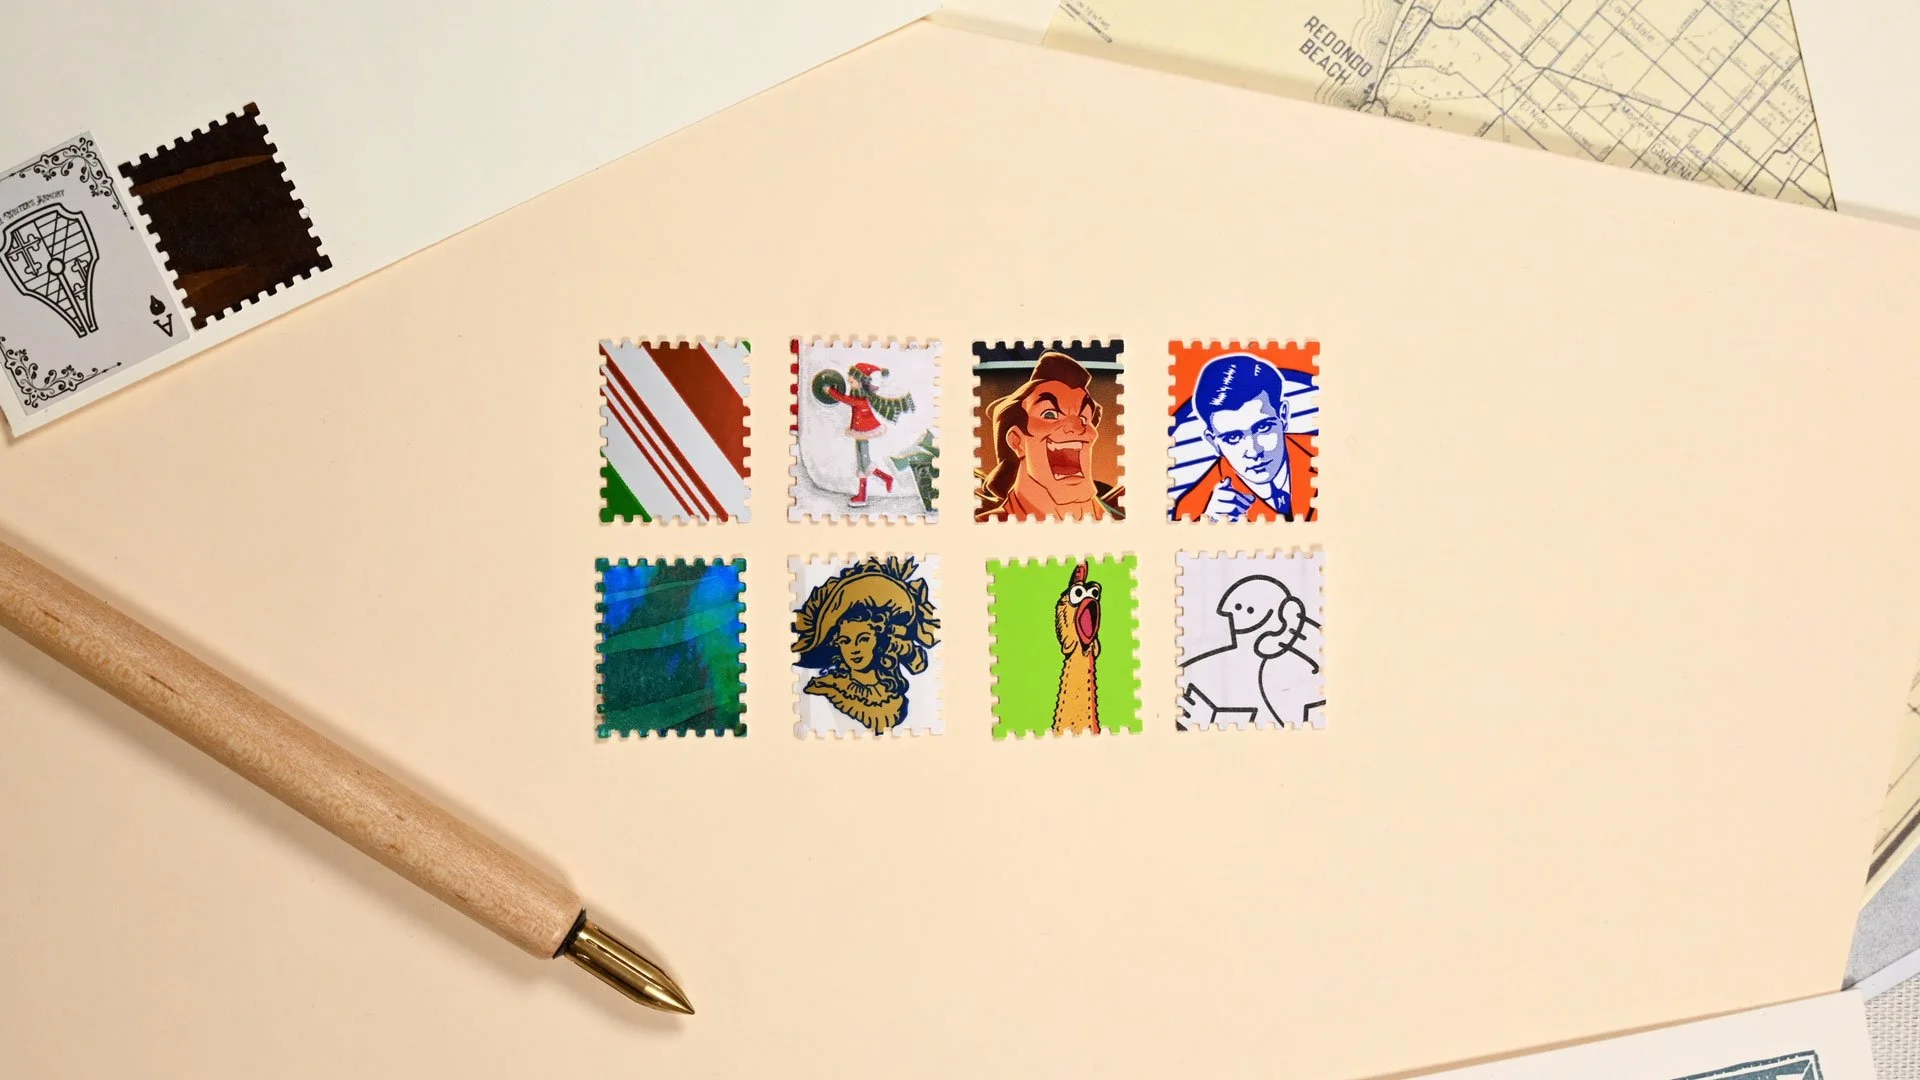
Here are a few favorites I’ve made since getting the punch, including some leftover wrapping paper from the holidays, the Gaston from earlier, the Moxie pointing guy, a holographic Diamine Magical Forest swatch, a Kirin Milk Tea label, a rubber chicken, and the call-Ikea-for-help guy.
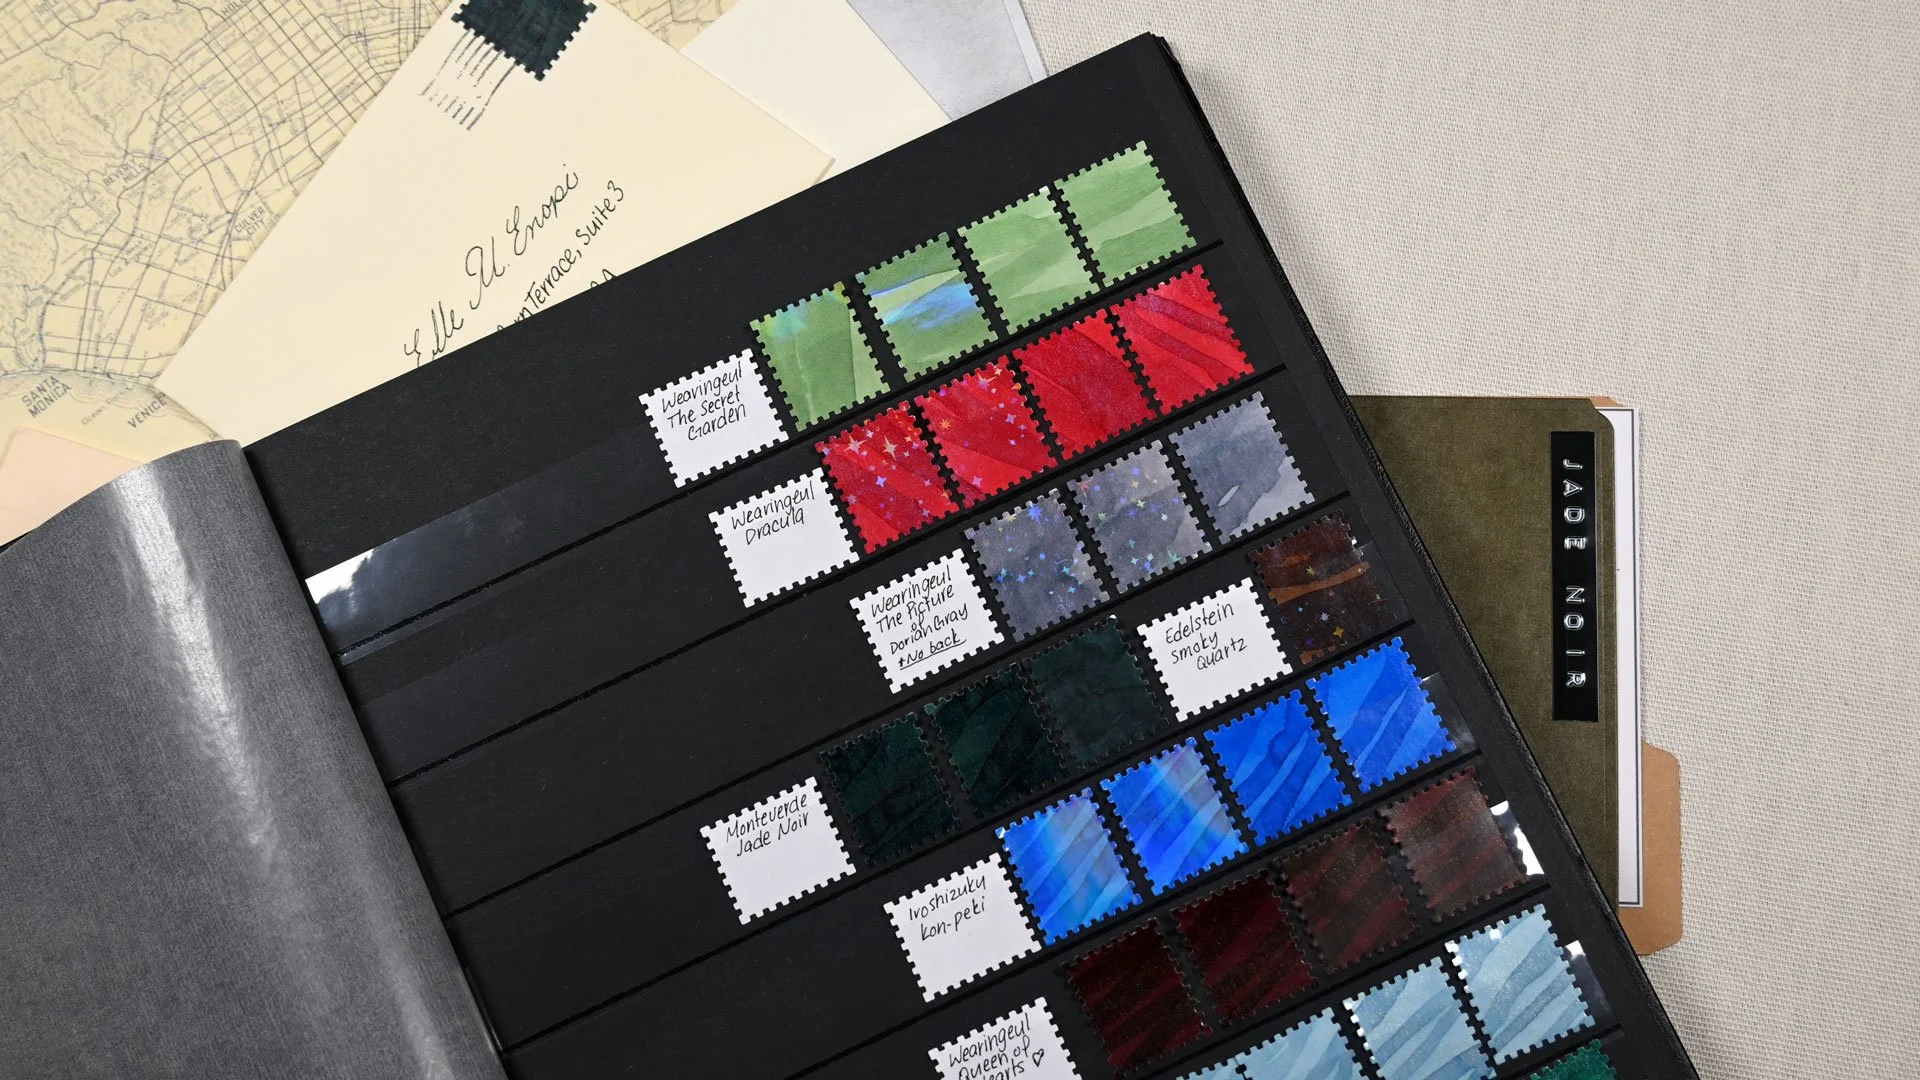
Initially, I stored all my stampings in a small box, but as I started collecting more of them, I decided to get a stamp album to keep them organized. Some thicker materials may be too much for it, but it looks nice, and it’s easy to flip through them. Is it a bit over the top? Probably, but that’s what we do here. The stamps also work as mini labels!
Maintenence
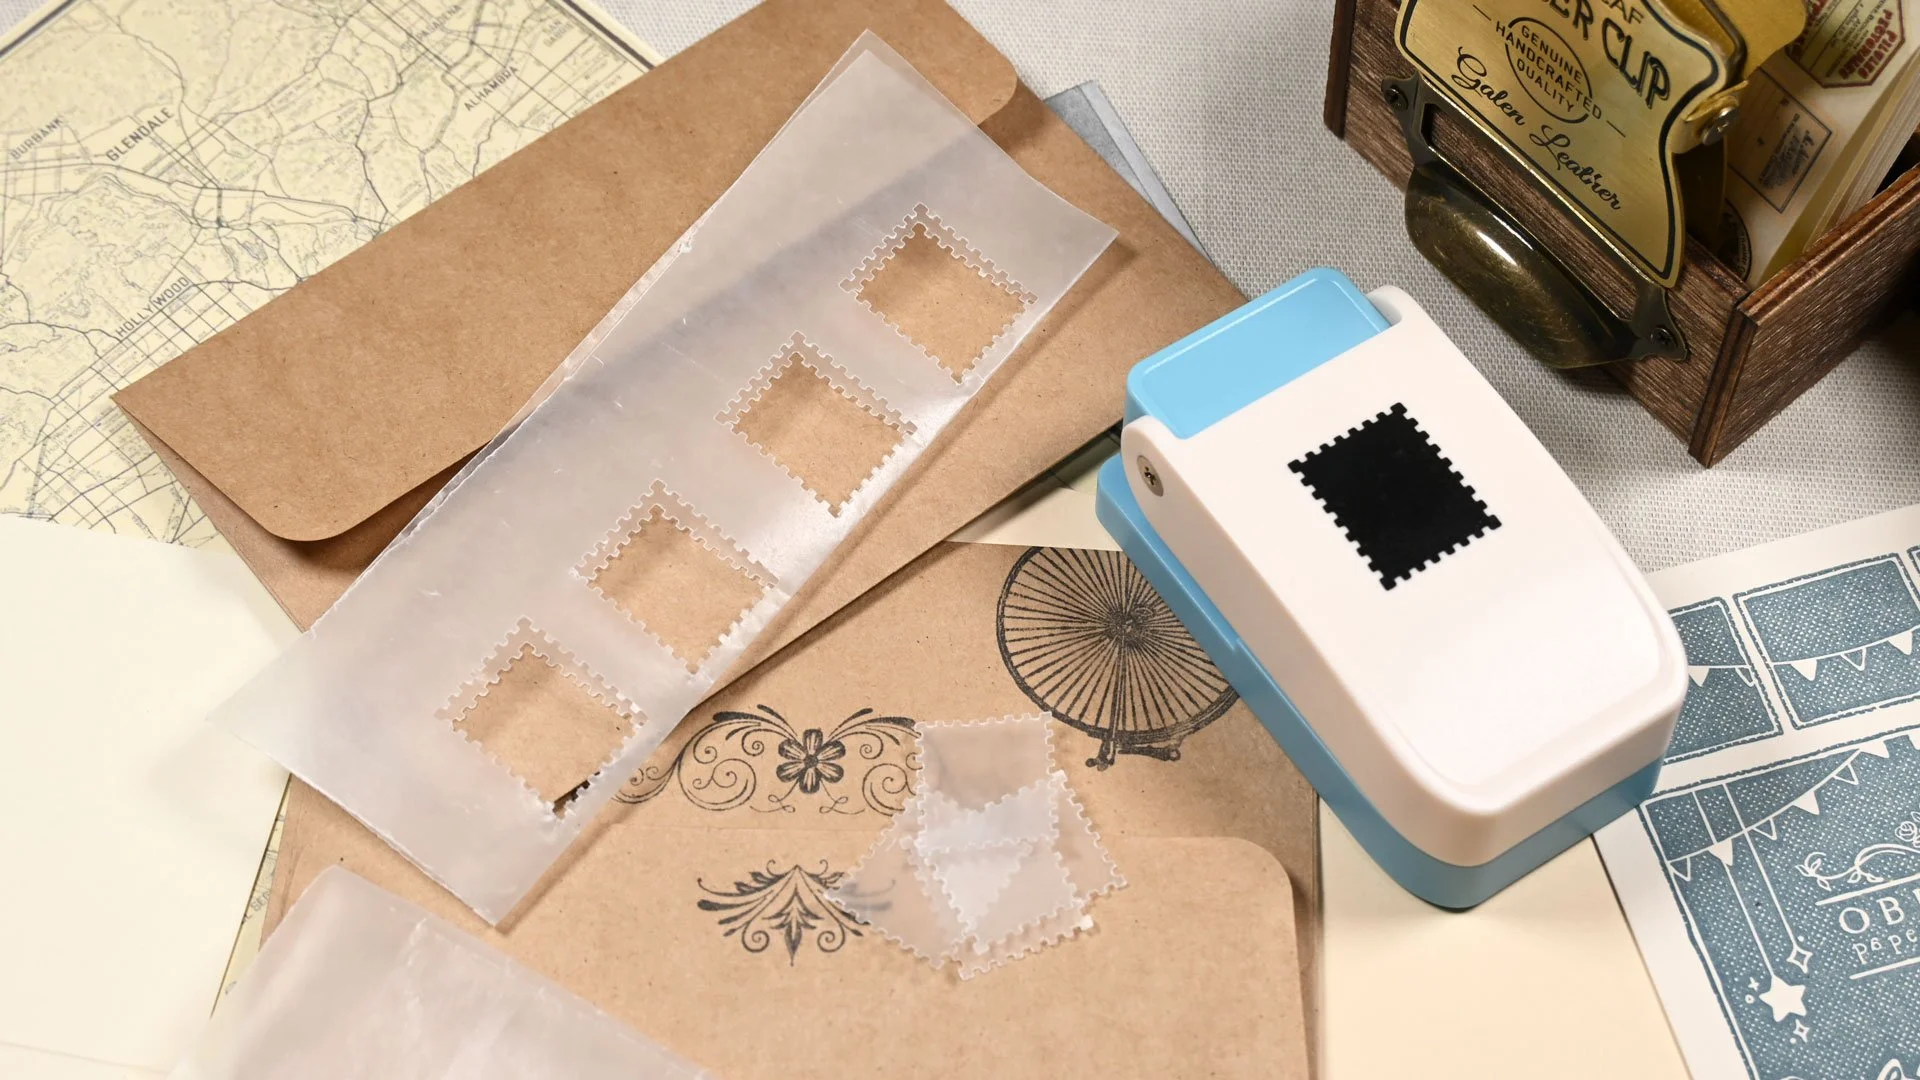
There’s not a lot to worry about in the way of maintenance, but if you’ve been stamping a lot and using a lot of adhesives, there’s no doubt you’ll eventually feel your stamp punch start to feel sticky. No fear! Wax paper is here! Some basic wax paper will lubricate and help remove adhesive residue from the punch. Aluminum foil can also be used to sharpen punches, but I suggest using the wax paper first. Just cut a slice, fold it over, and punch punch punch away until it feels smooth again!
My Take on the Super Punch
The Super Punch (or any stamp punch, really) is an easy recommendation. I’ve always had a hard time knowing how to do fun things in my journal/planners, and this gives me an anchor of sorts to build around. It’s such an easy and inexpensive way to take those pages to the next level. It seems like it would be a small thing (and it is), but for me, it feels like a massive creativity boost. I can turn the smallest thing into a memory, and the difference in my pages since I got the punch is night and day. Now, when I’m out and about, I find myself eyeing things to punch that I normally wouldn’t have taken a second glance at — the hunt alone is a ton of fun! This is easily my current favorite stationery/papercrafting purchase of 2026, and it’s so good that I have no doubt it’ll stay that way.
Links!
Stamp punch:
Kamei Super Punch stamp punch 1”x0.8” — This is the one I bought (Amazon)
Another listing containing different sizes and multipacks (Amazon)
Accessories:
Avery laminating sheets (Amazon)
Holographic laminating sheets (Amazon)
Kokuyo Dotliner adhesive roller (Amazon)
Birllaid adhesive sheets (Amazon)
Lighthouse stamp album (Amazon)
Wax paper for cleaning (Amazon)